vital wheat gluten

Herb and Sun-Dried Tomato Stuffed Vegan Turkey Breast

Herb and Sun-Dried Tomato Stuffed Vegan Turkey Breast

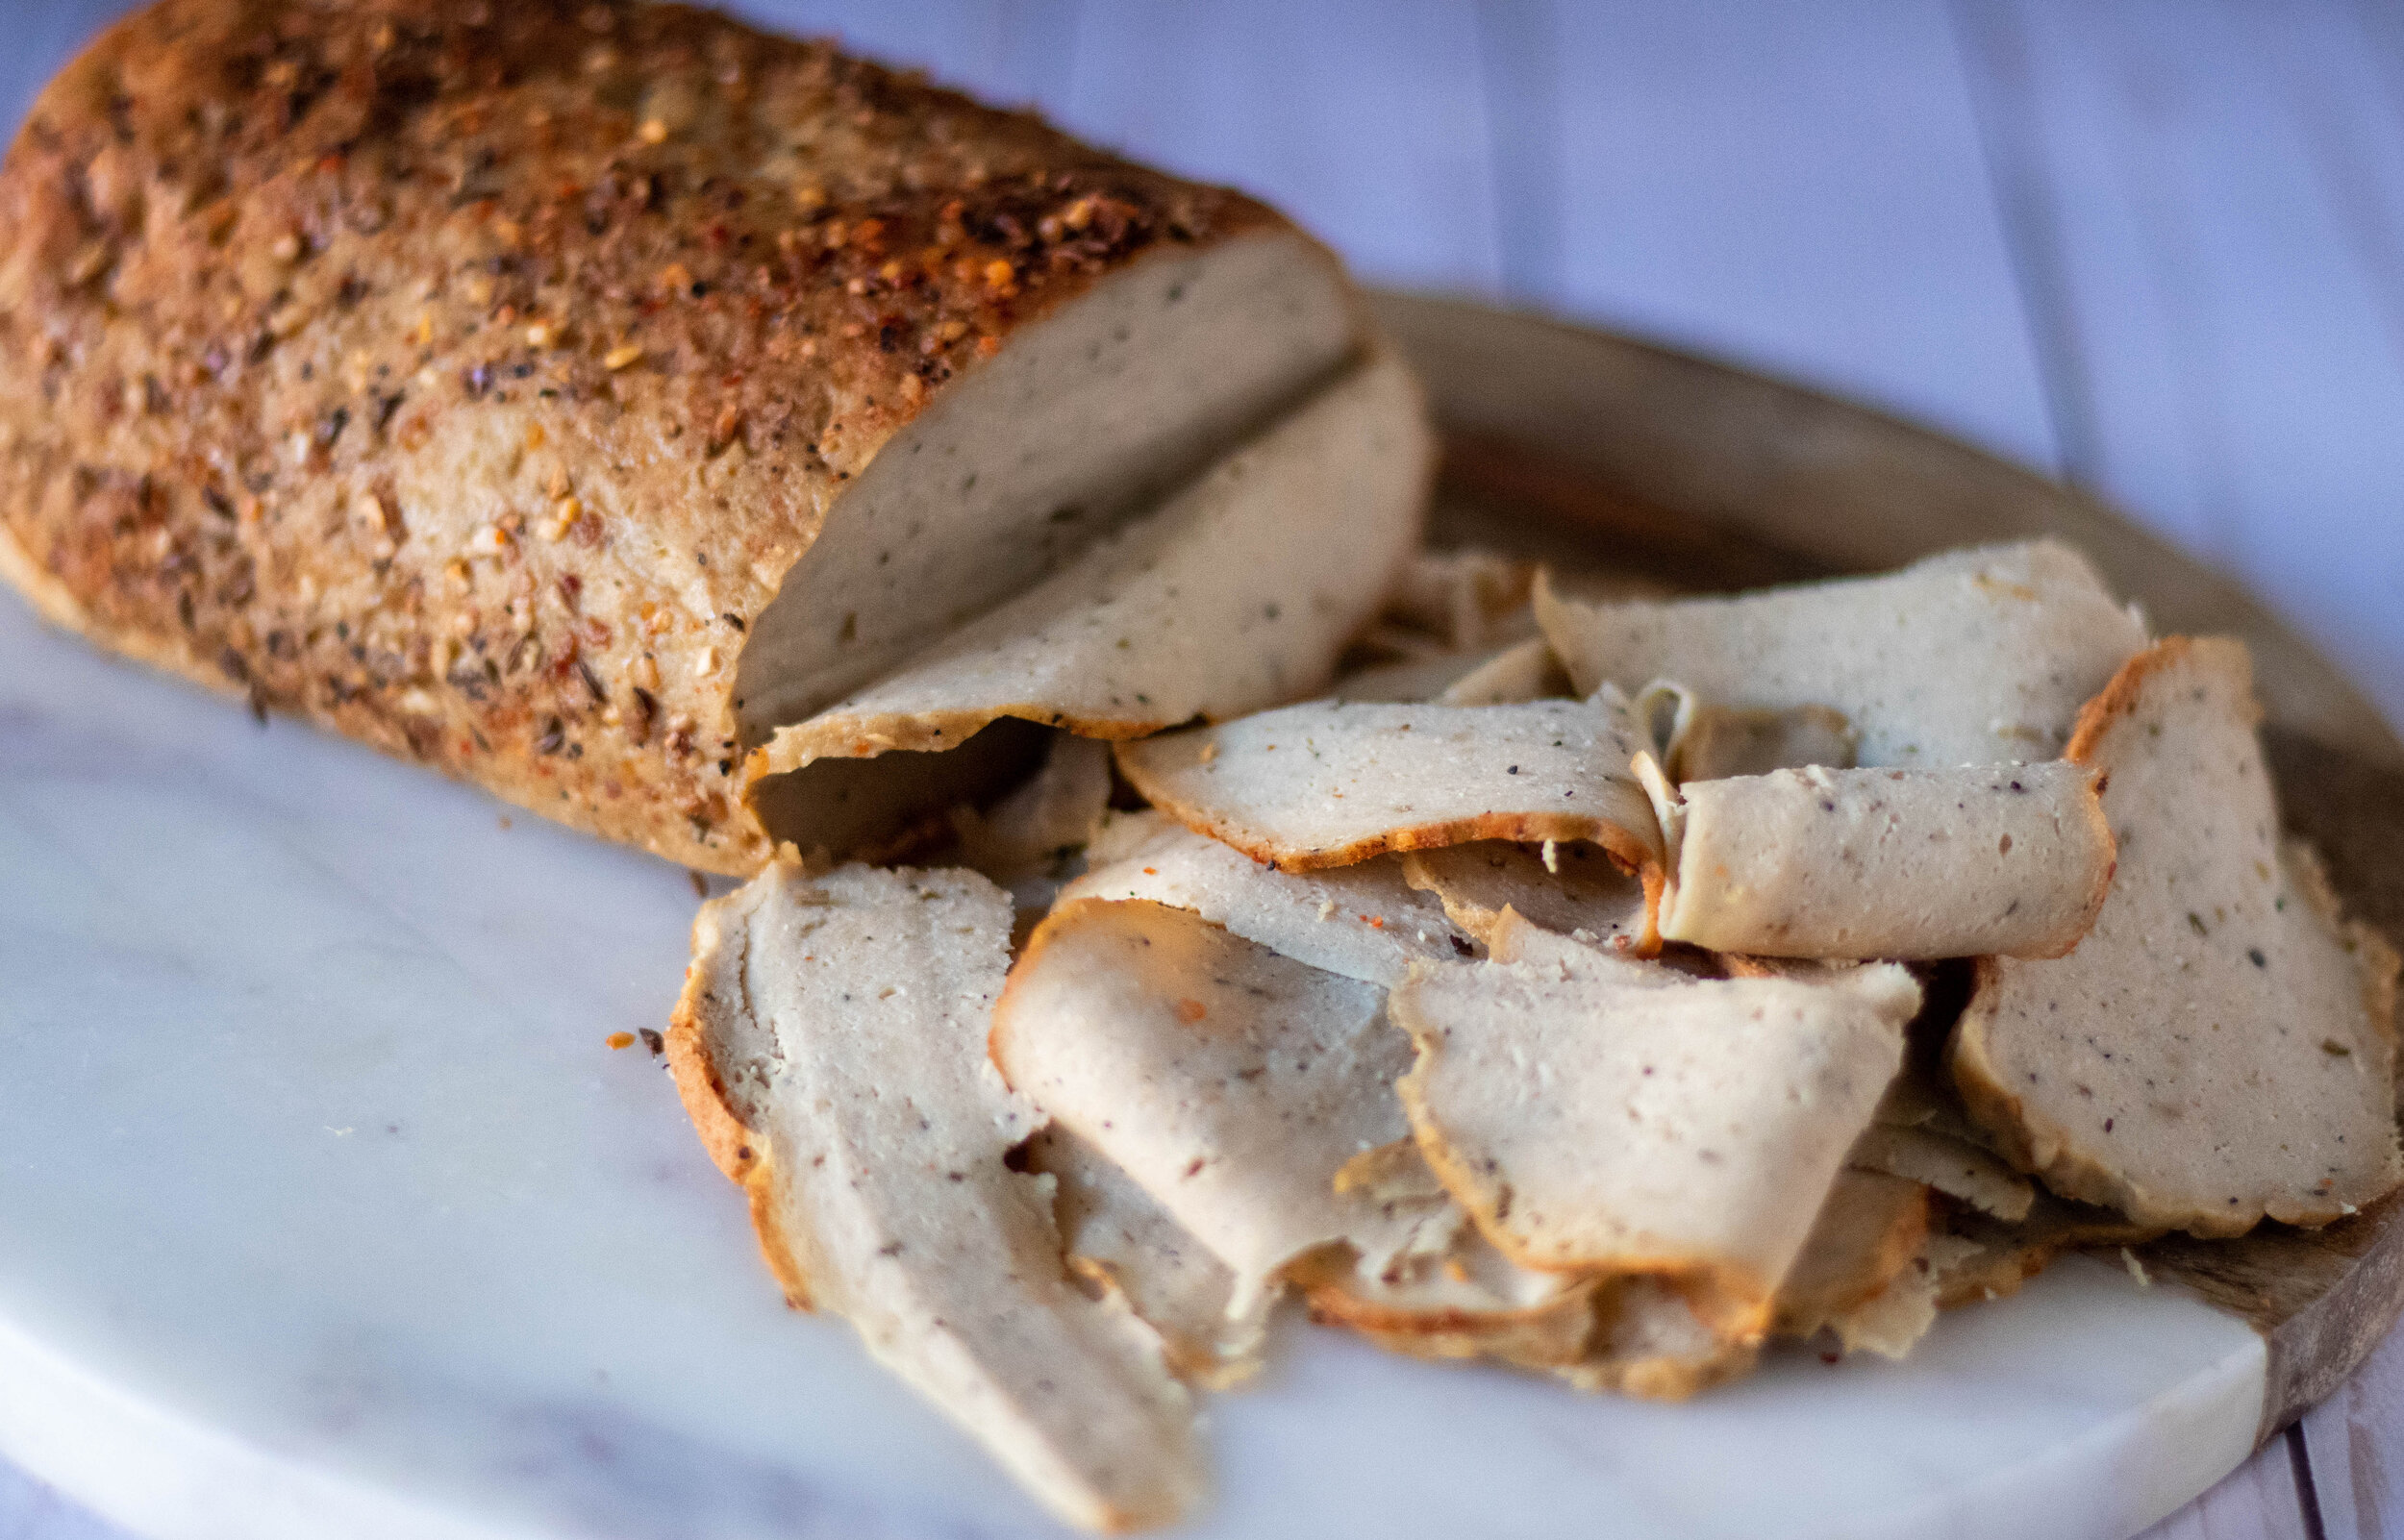
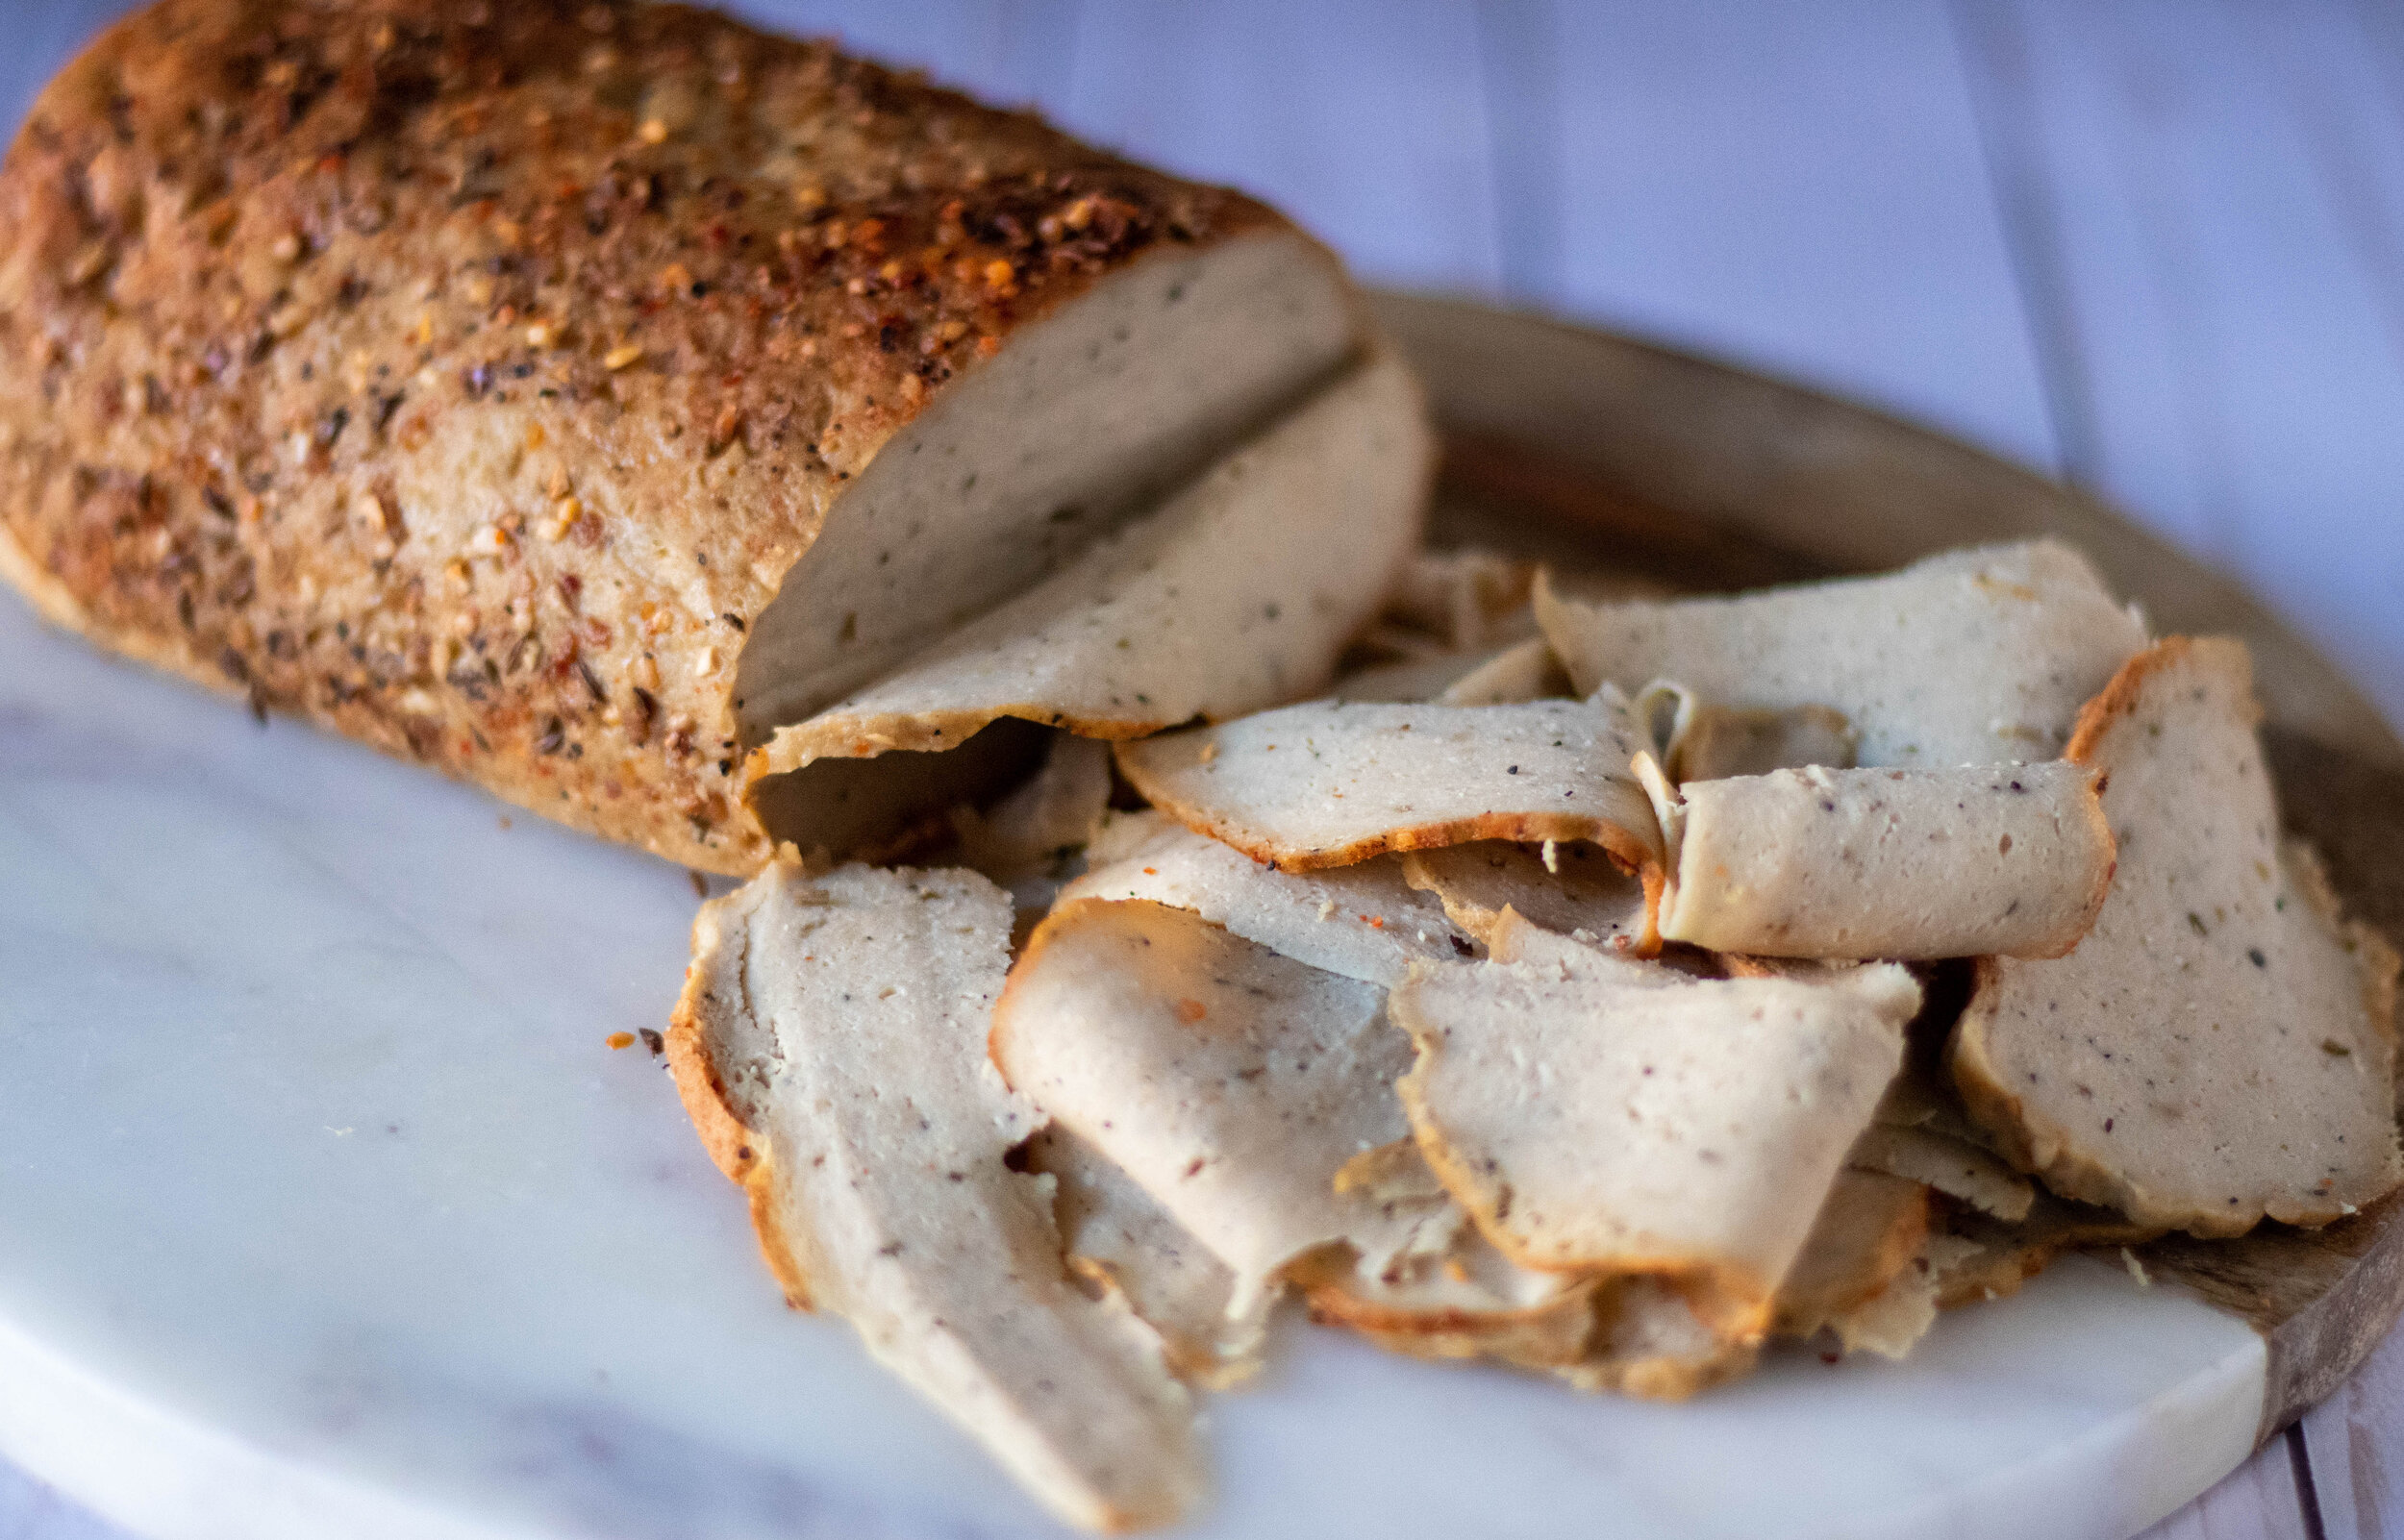
One of the most popular recipes on this site is our Vegan Deli Sliced Turkey. And for good reason! It’s delicious and super easy to make.

We mixed vital wheat gluten, tofu, herbs and spices to create a very convincing vegan turkey breast. The texture and flavor are just spot on!

So when I was thinking over new spring dish ideas, specifically main dishes, I decided I wanted to stuff that turkey breast with some herbs, roll it up, and see how it would turn out.

I had imagined using a variety of herbs and bread crumbs to stuff the vegan turkey breast with, but because I am wrote this recipe durning some very strange, unprecedented, quarantine times, I had to use what I had on hand.

I had a bunch of basil and a bag of sun dried to tomatoes so decided to work from there. I love basil and sun dried tomatoes together and decided the combo would give this stuffed turkey breast and Italian feel. The flavors are bright but also light and zippy.

Even though the filling was not what I had originally dreamed up, it just goes to show using what you have on hand sometimes can create happy accidents….errrr, well, this is less an accident and more a product of availability, and mandatory shelter at home orders. But still the result was happy!

You can use any herbs you have on hand, as well. If do not have sun dried tomatoes you can skip that and just use herbs and bread crumbs.

We ate this vegan turkey breast as a dinner, but you could easily slice it thinly and use it for one dang delicious sandwich, too.

So if you have been thinking about what you would make for your next spring holiday meal, or have some extra time on your hands and want to give seitan turkey a go, there is no better time than now!

This recipe is beyond easy, and so delicious.

Herb and Sun-Dried Tomato Stuffed Vegan Turkey Breast

INGREDIENTS:

  • 1 block extra firm high protein tofu (14oz -16oz block)

  • 1 cup vital wheat gluten

  • 1/2-3/4 cups water

  • 1/4 cup nutritional yeast

  • 2 tablespoons neutral flavored oil

  • 2 tablespoons tapioca starch

  • 2 teaspoons onion powder

  • 1-2 teaspoons garlic powder

  • 1/2 teaspoon sage

  • 1 teaspoon rosemary

  • 1 tablespoon No Chicken Better Than Bouillon

  • 1 teaspoon liquid smoke

  • 1 teaspoon salt optional if you feel like the bouillon is not salty enough

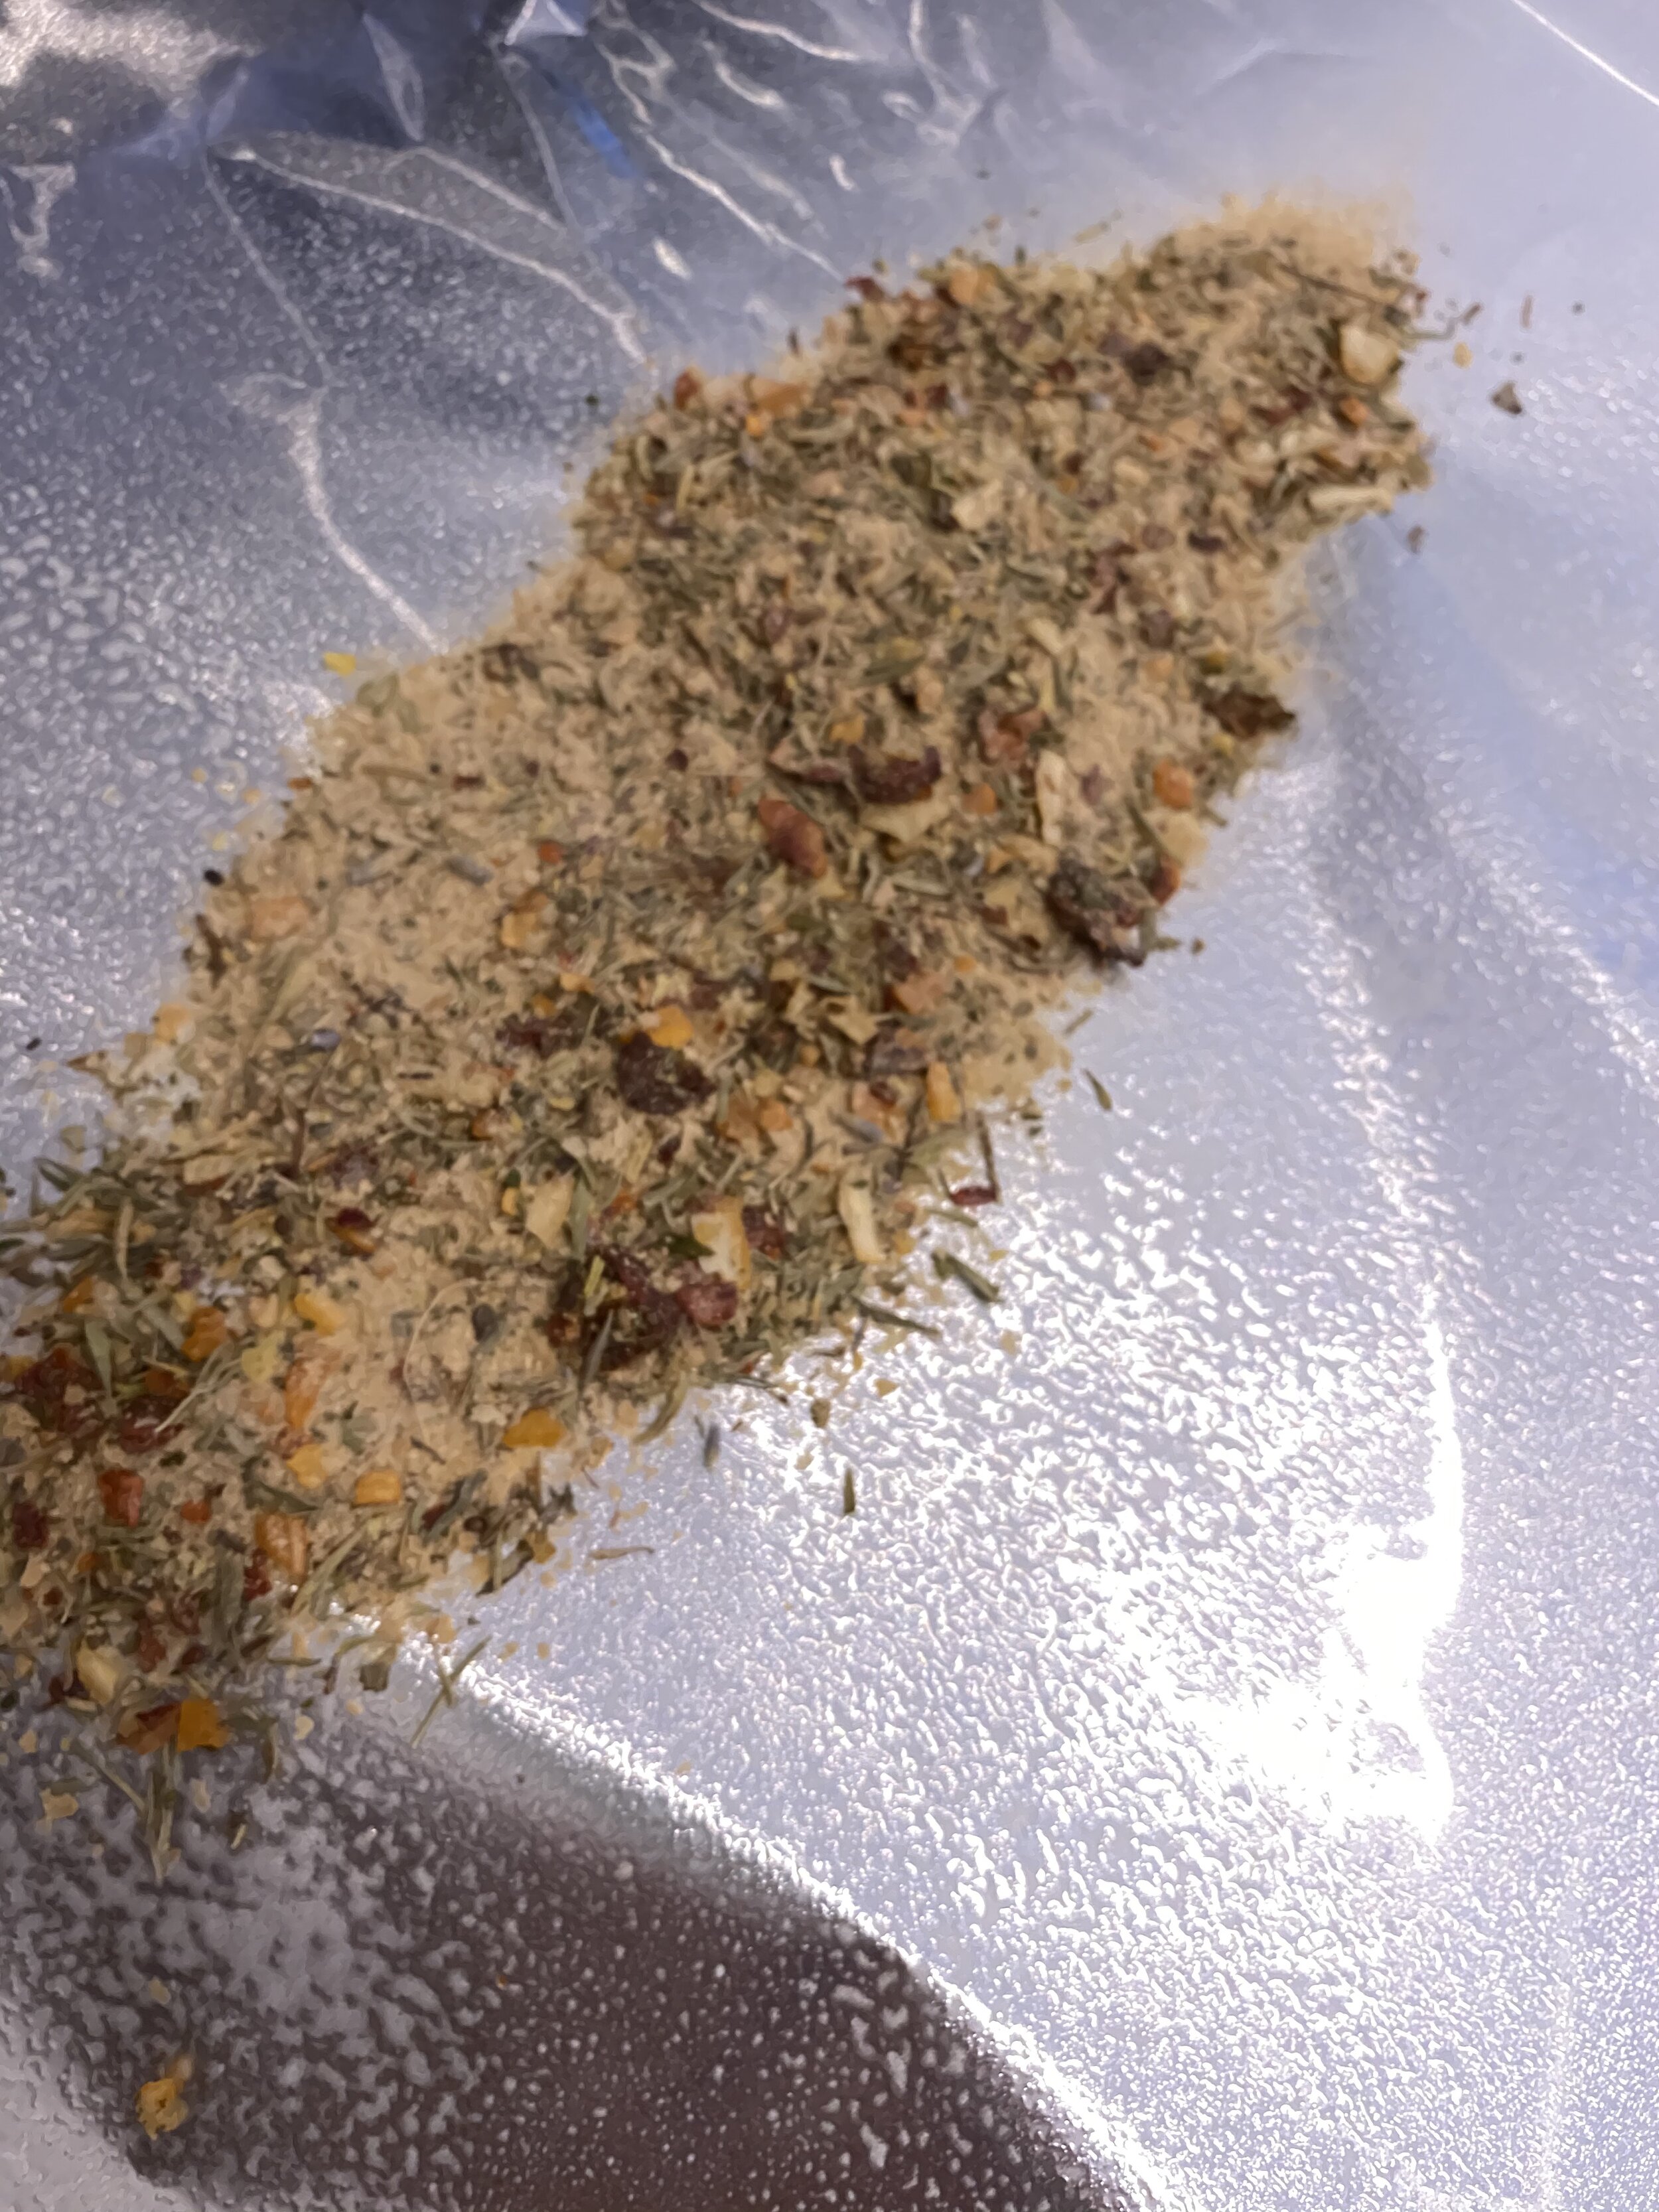
  • 3 tablespoons mix Italian herbs for the coating, plus 1 tablespoon nutritional yeast

*I used high protein tofu in a sort of vacuum sealed package and this what I strongly advise using. It is much firmer than regular firm tofu and has less moisture and a more chewy texture. If you opt to use regular firm tofu you will need to press it first and remove as much liquid as possible. You may need to adjust the amount of water in the recipe ads a result as well. Add the water last, adding just enough to accomplish a firm dough. Be advised that I have not made this turkey with regular firm tofu and I have gotten several comments that using it has caused the tofu to have more of bread texture with many holes in it. I am sure moisture is what is causing this issue. I really suggest only using the HIGH PROTEIN EXTRA FIRM for this recipe if you can find it.

FOR THE FILLING:

  • 1 cup bread crumbs (make sure they are vegan, many brands are not)

  • 1/2 cup fresh basil

  • 1/4 cup fresh parsley (optional)

  • 1/4 cup sun dried tomatoes

  • Juice from 1/2 lemon

  • 2-3 teaspoons olive oil

  • 1 teaspoon salt

INSTRUCTIONS:

Preheat oven to 350 degrees

  1. Begin by adding all of the ingredients for the filling in the food processor. Mix for a few minutes until all of the ingredients are minced up and browned down into a crumb consistency. Place filling in a bowl and set aside. Rinse the food processor.

  2. Break up the tofu and place it into a food processor with the regular metal blade. Run the processor for around a minute until the tofu is broken down.

  3. Add all of the remaining ingredients and let the food processor run for a couple of minutes. You want the mixture to form a dough. Letting the processor run will help knead the dough. We want this seitan to be firm so we need it to knead for a bit. If you dough seems a bit too dry, you can add another few tablespoons of water, just don’t add too much more! I start at 1/2 cup and work from there.

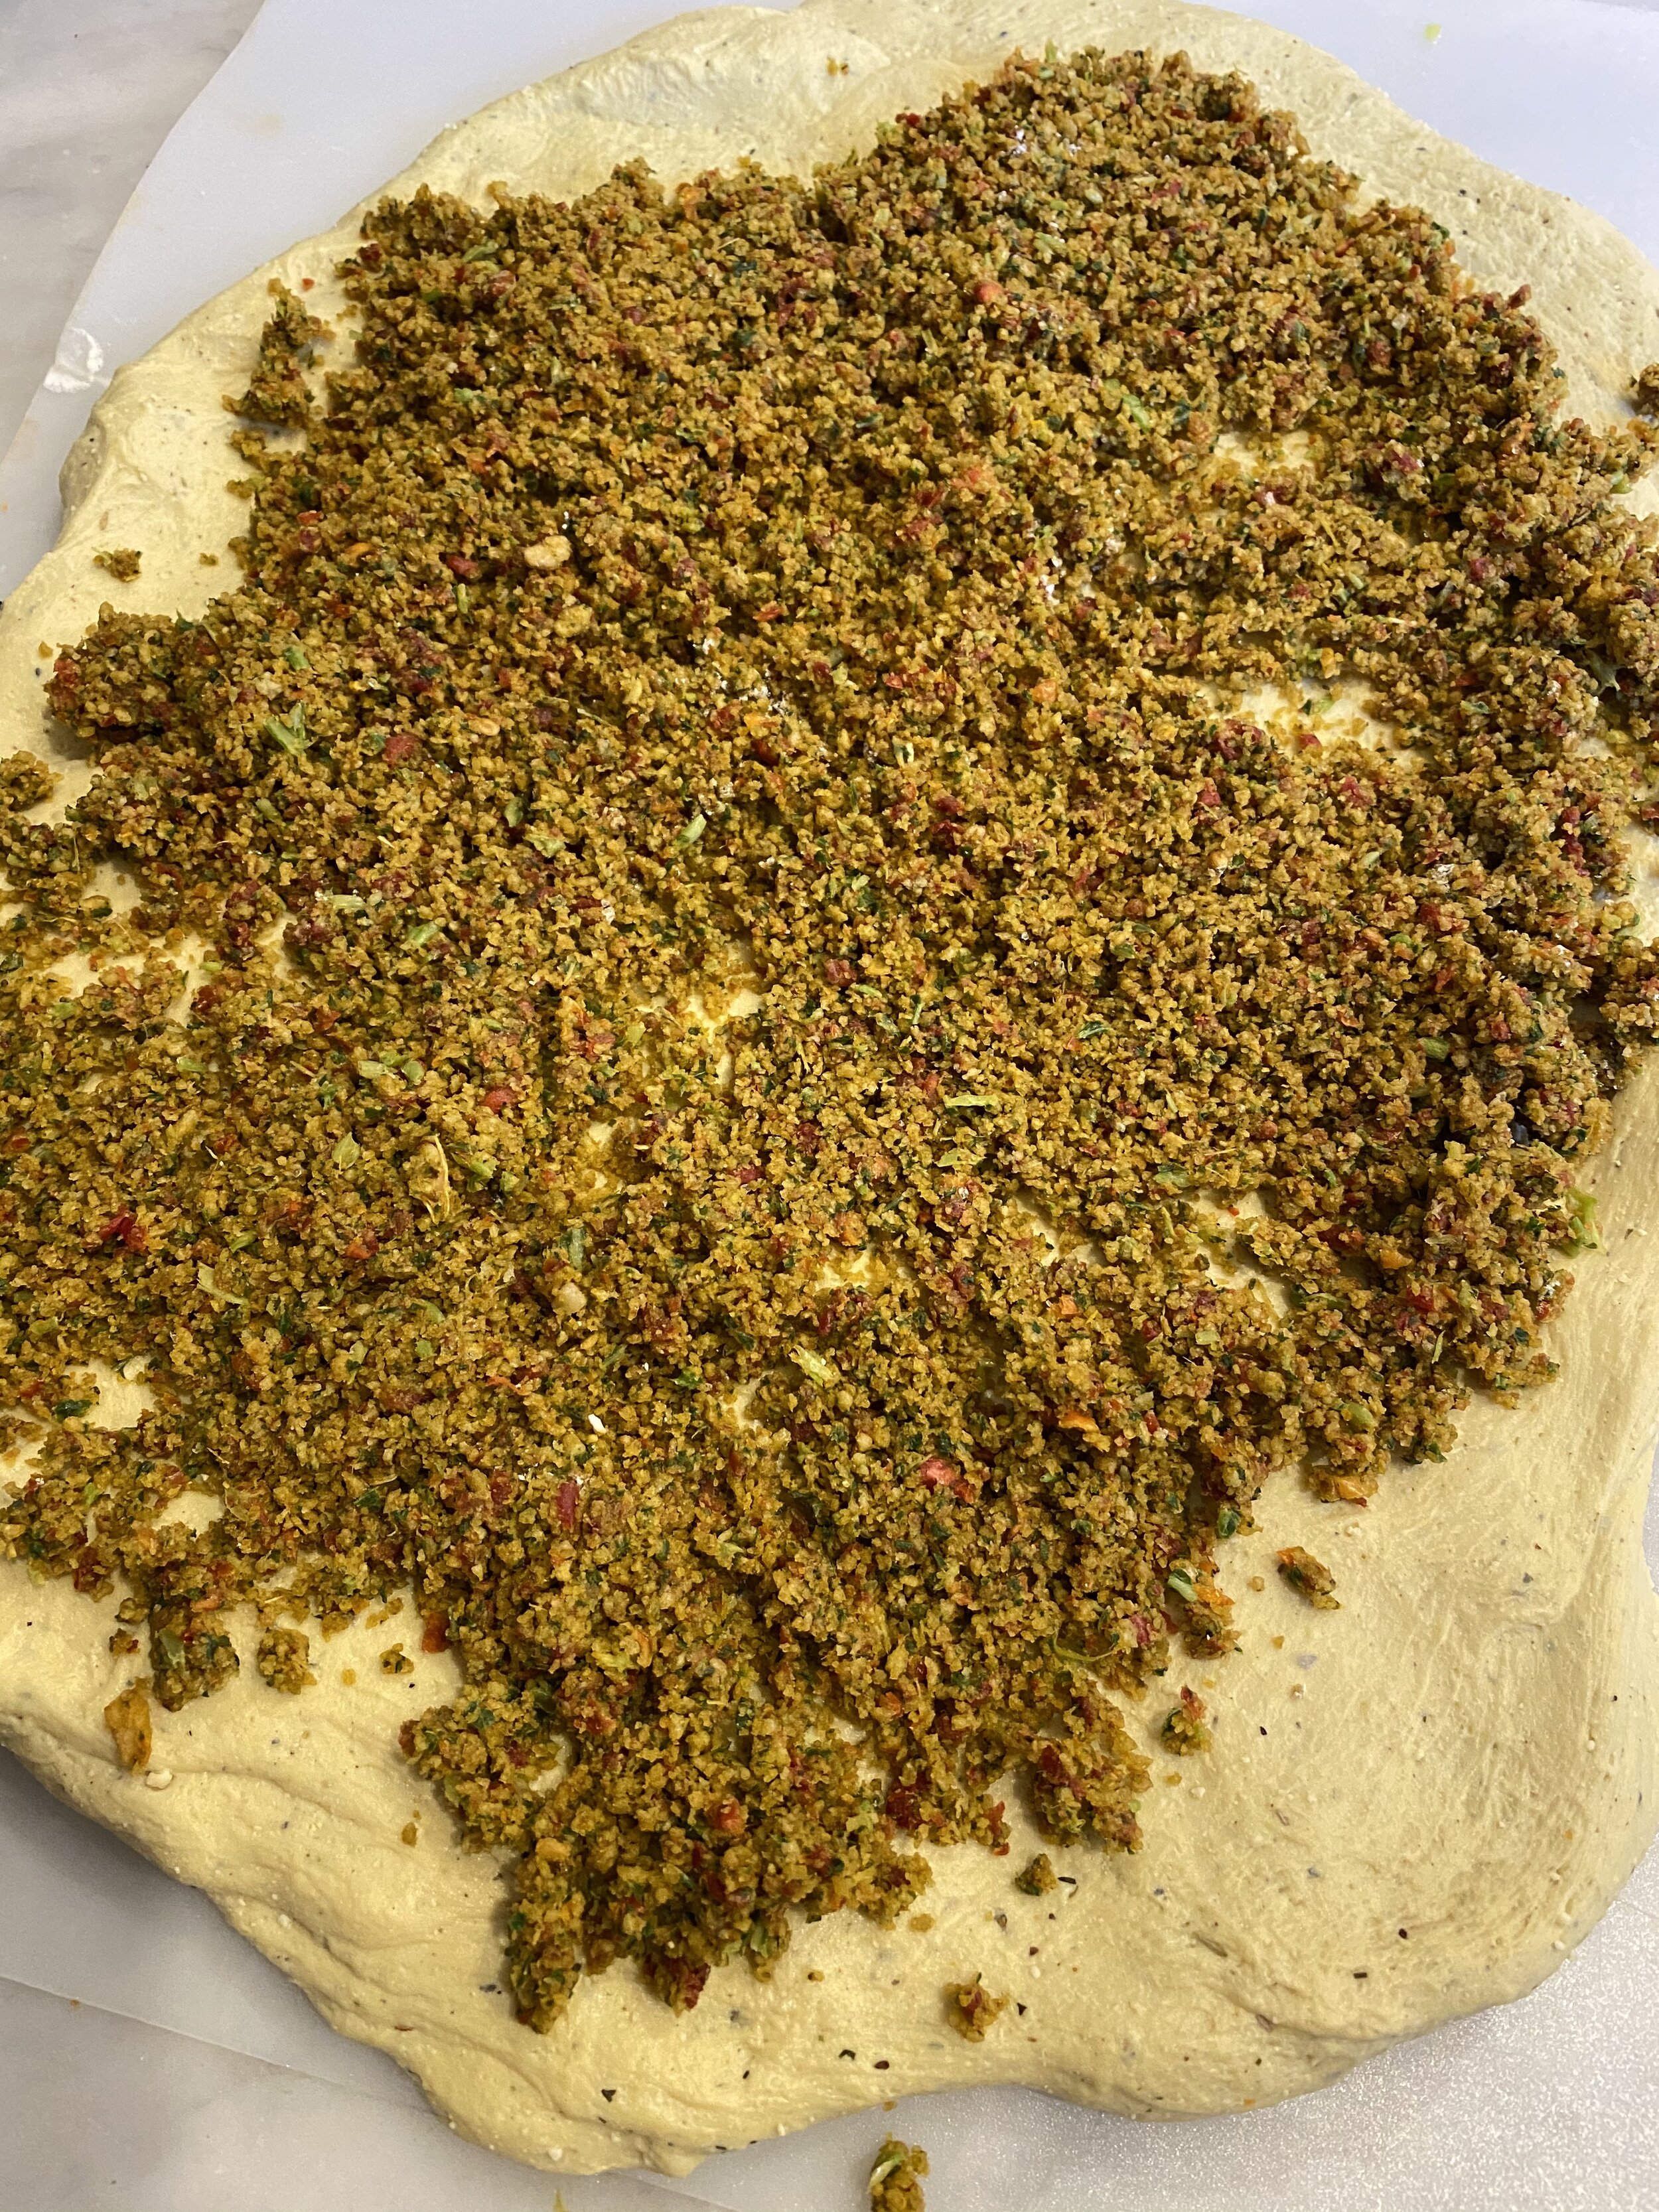
  4. Once you have a smooth but firm dough, remove it from the food processor and place on a clean counter. Knead the dough with your hands for about a minute. Flatten the dough out into a regtangle-ish shape. About 12 inches by maybe 8 inches.

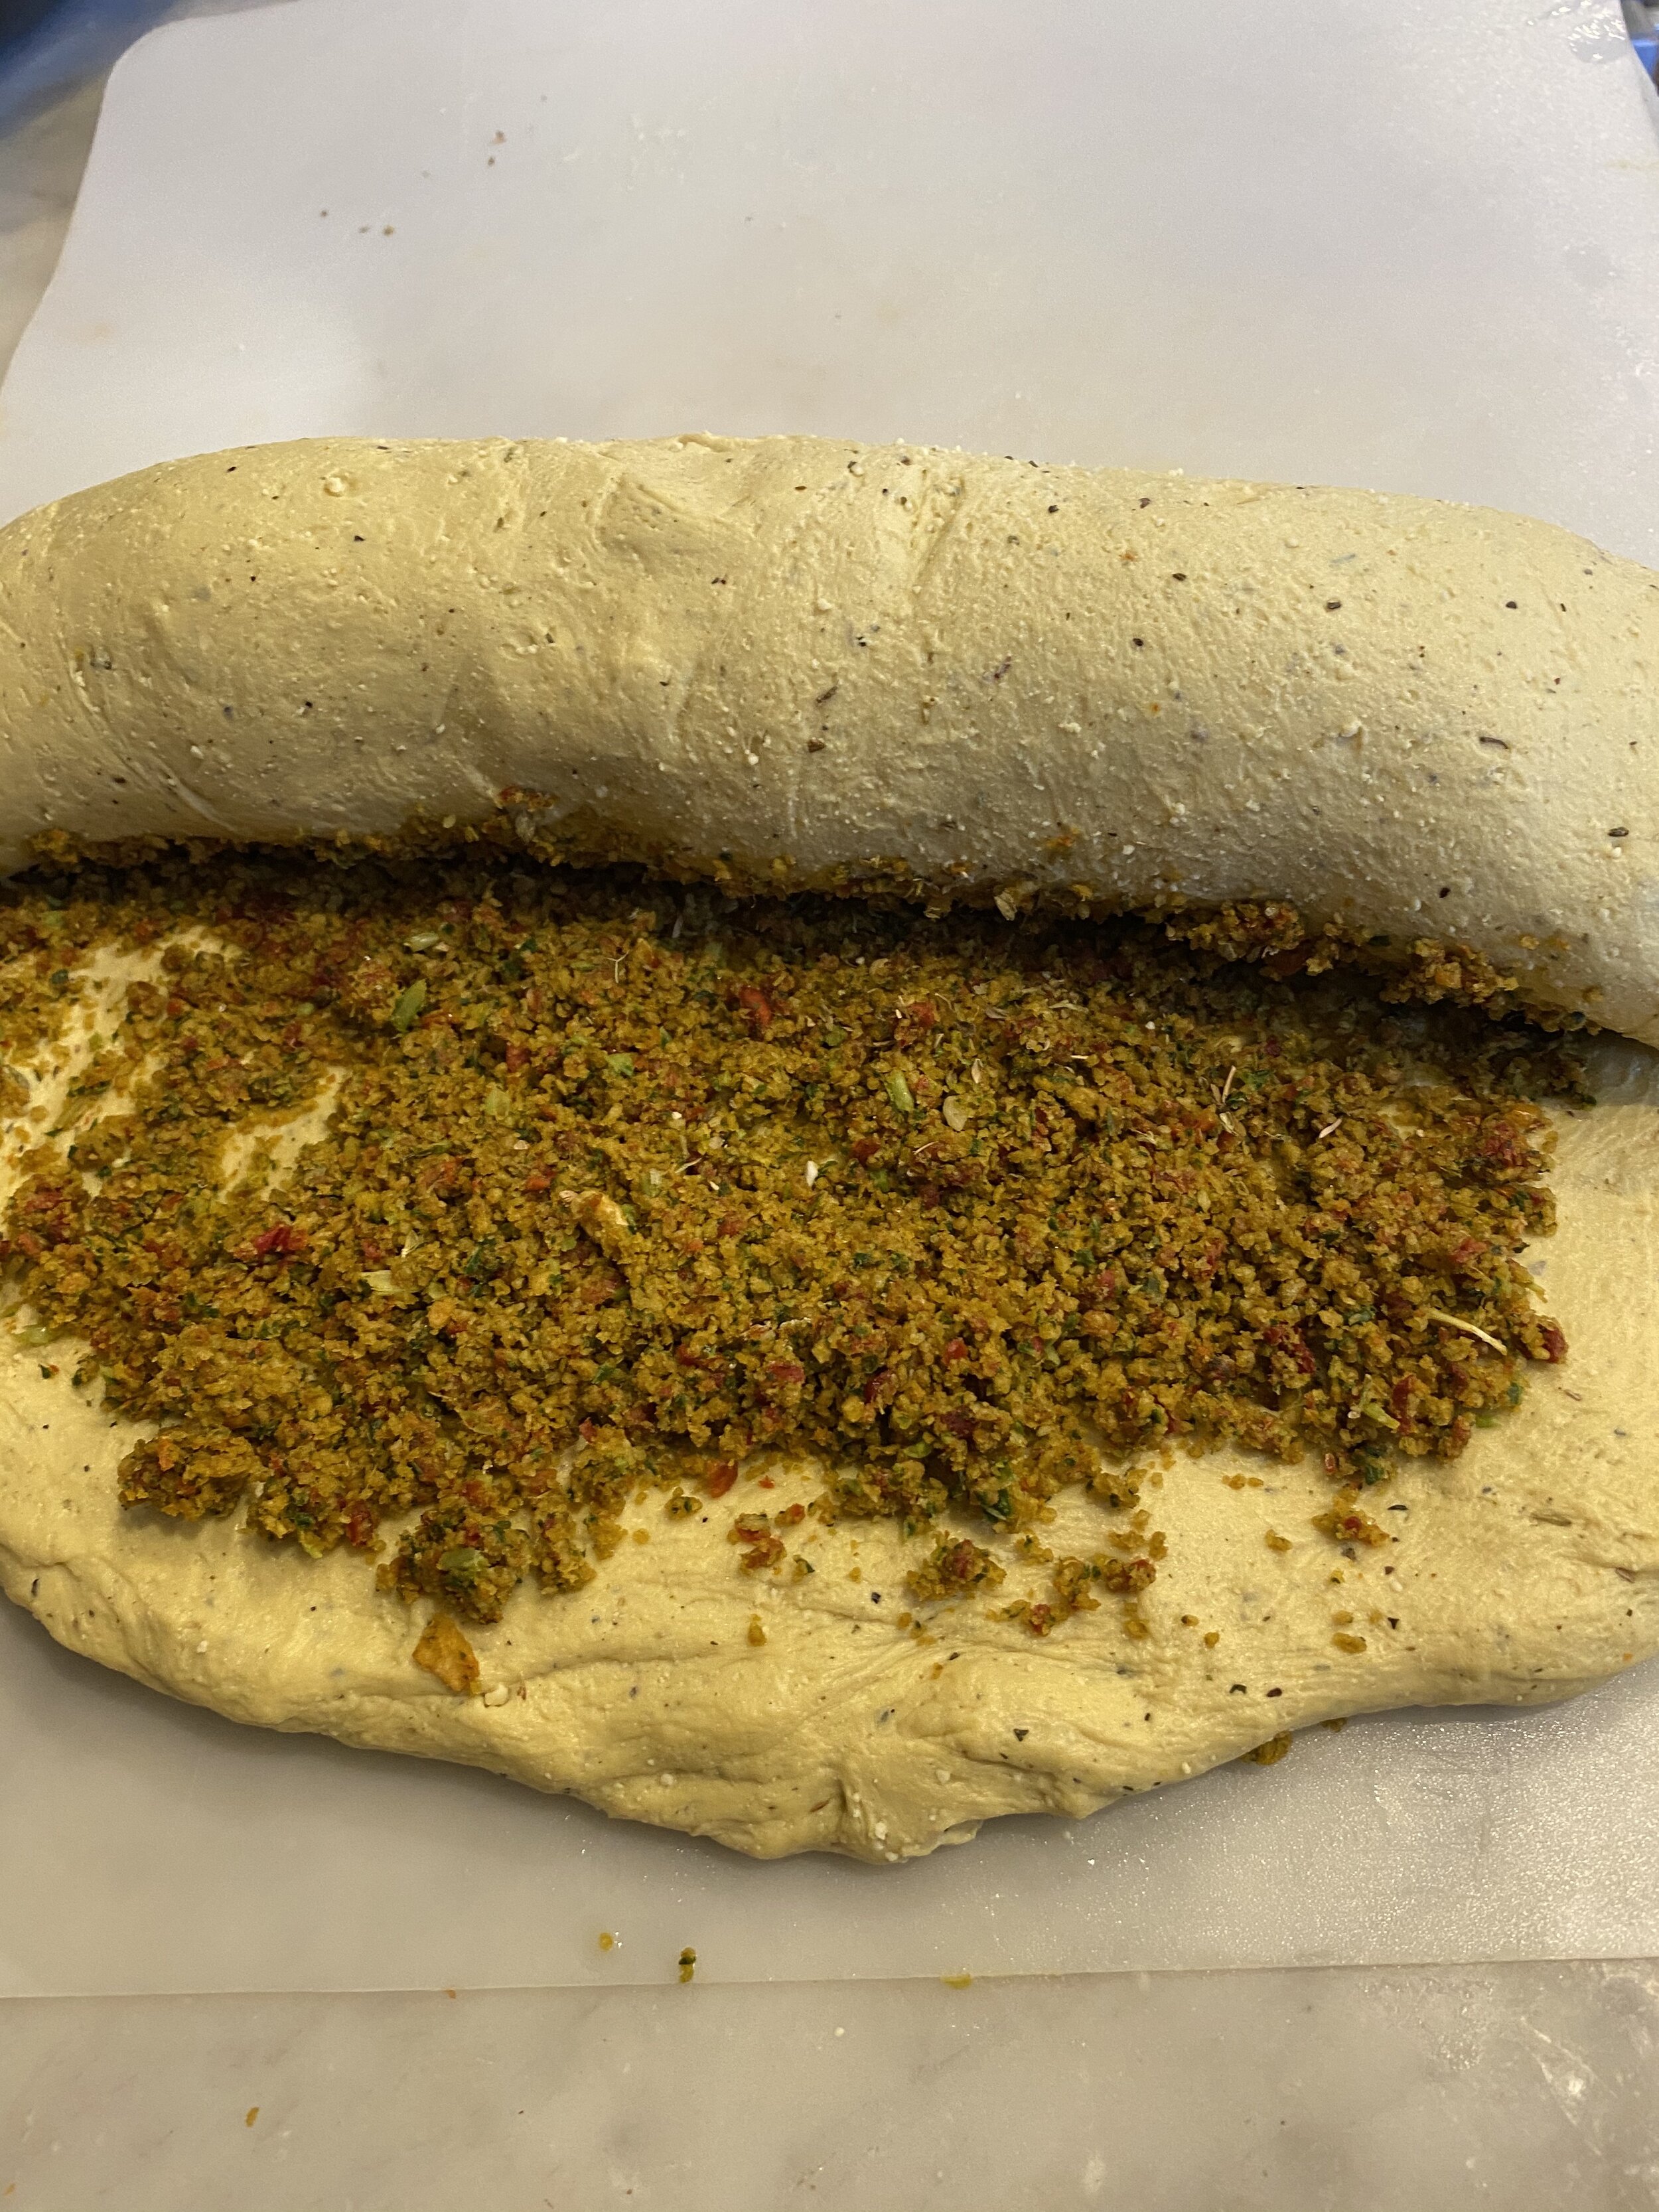
  5. Spread the filling over the dough leaving some room around the edges so the filling does not spill out.

  6. Begin rolling up the dough starting at one of the shorter ends. Once you have rolled it up, tuck in the ends.

  7. Take a piece of aluminum for about 3x bigger than the loaf of dough, and lay it out flat. Coat the foil in spray oil or wipe it down with any oil you have. Sprinkle half coating seasoning you are using in the center of the foil. Place the loaf on the seasoning and roll it around. Sprinkle the remaining seasoning over the top and press it in. The goal is to fully coat the loaf in the seasoning!

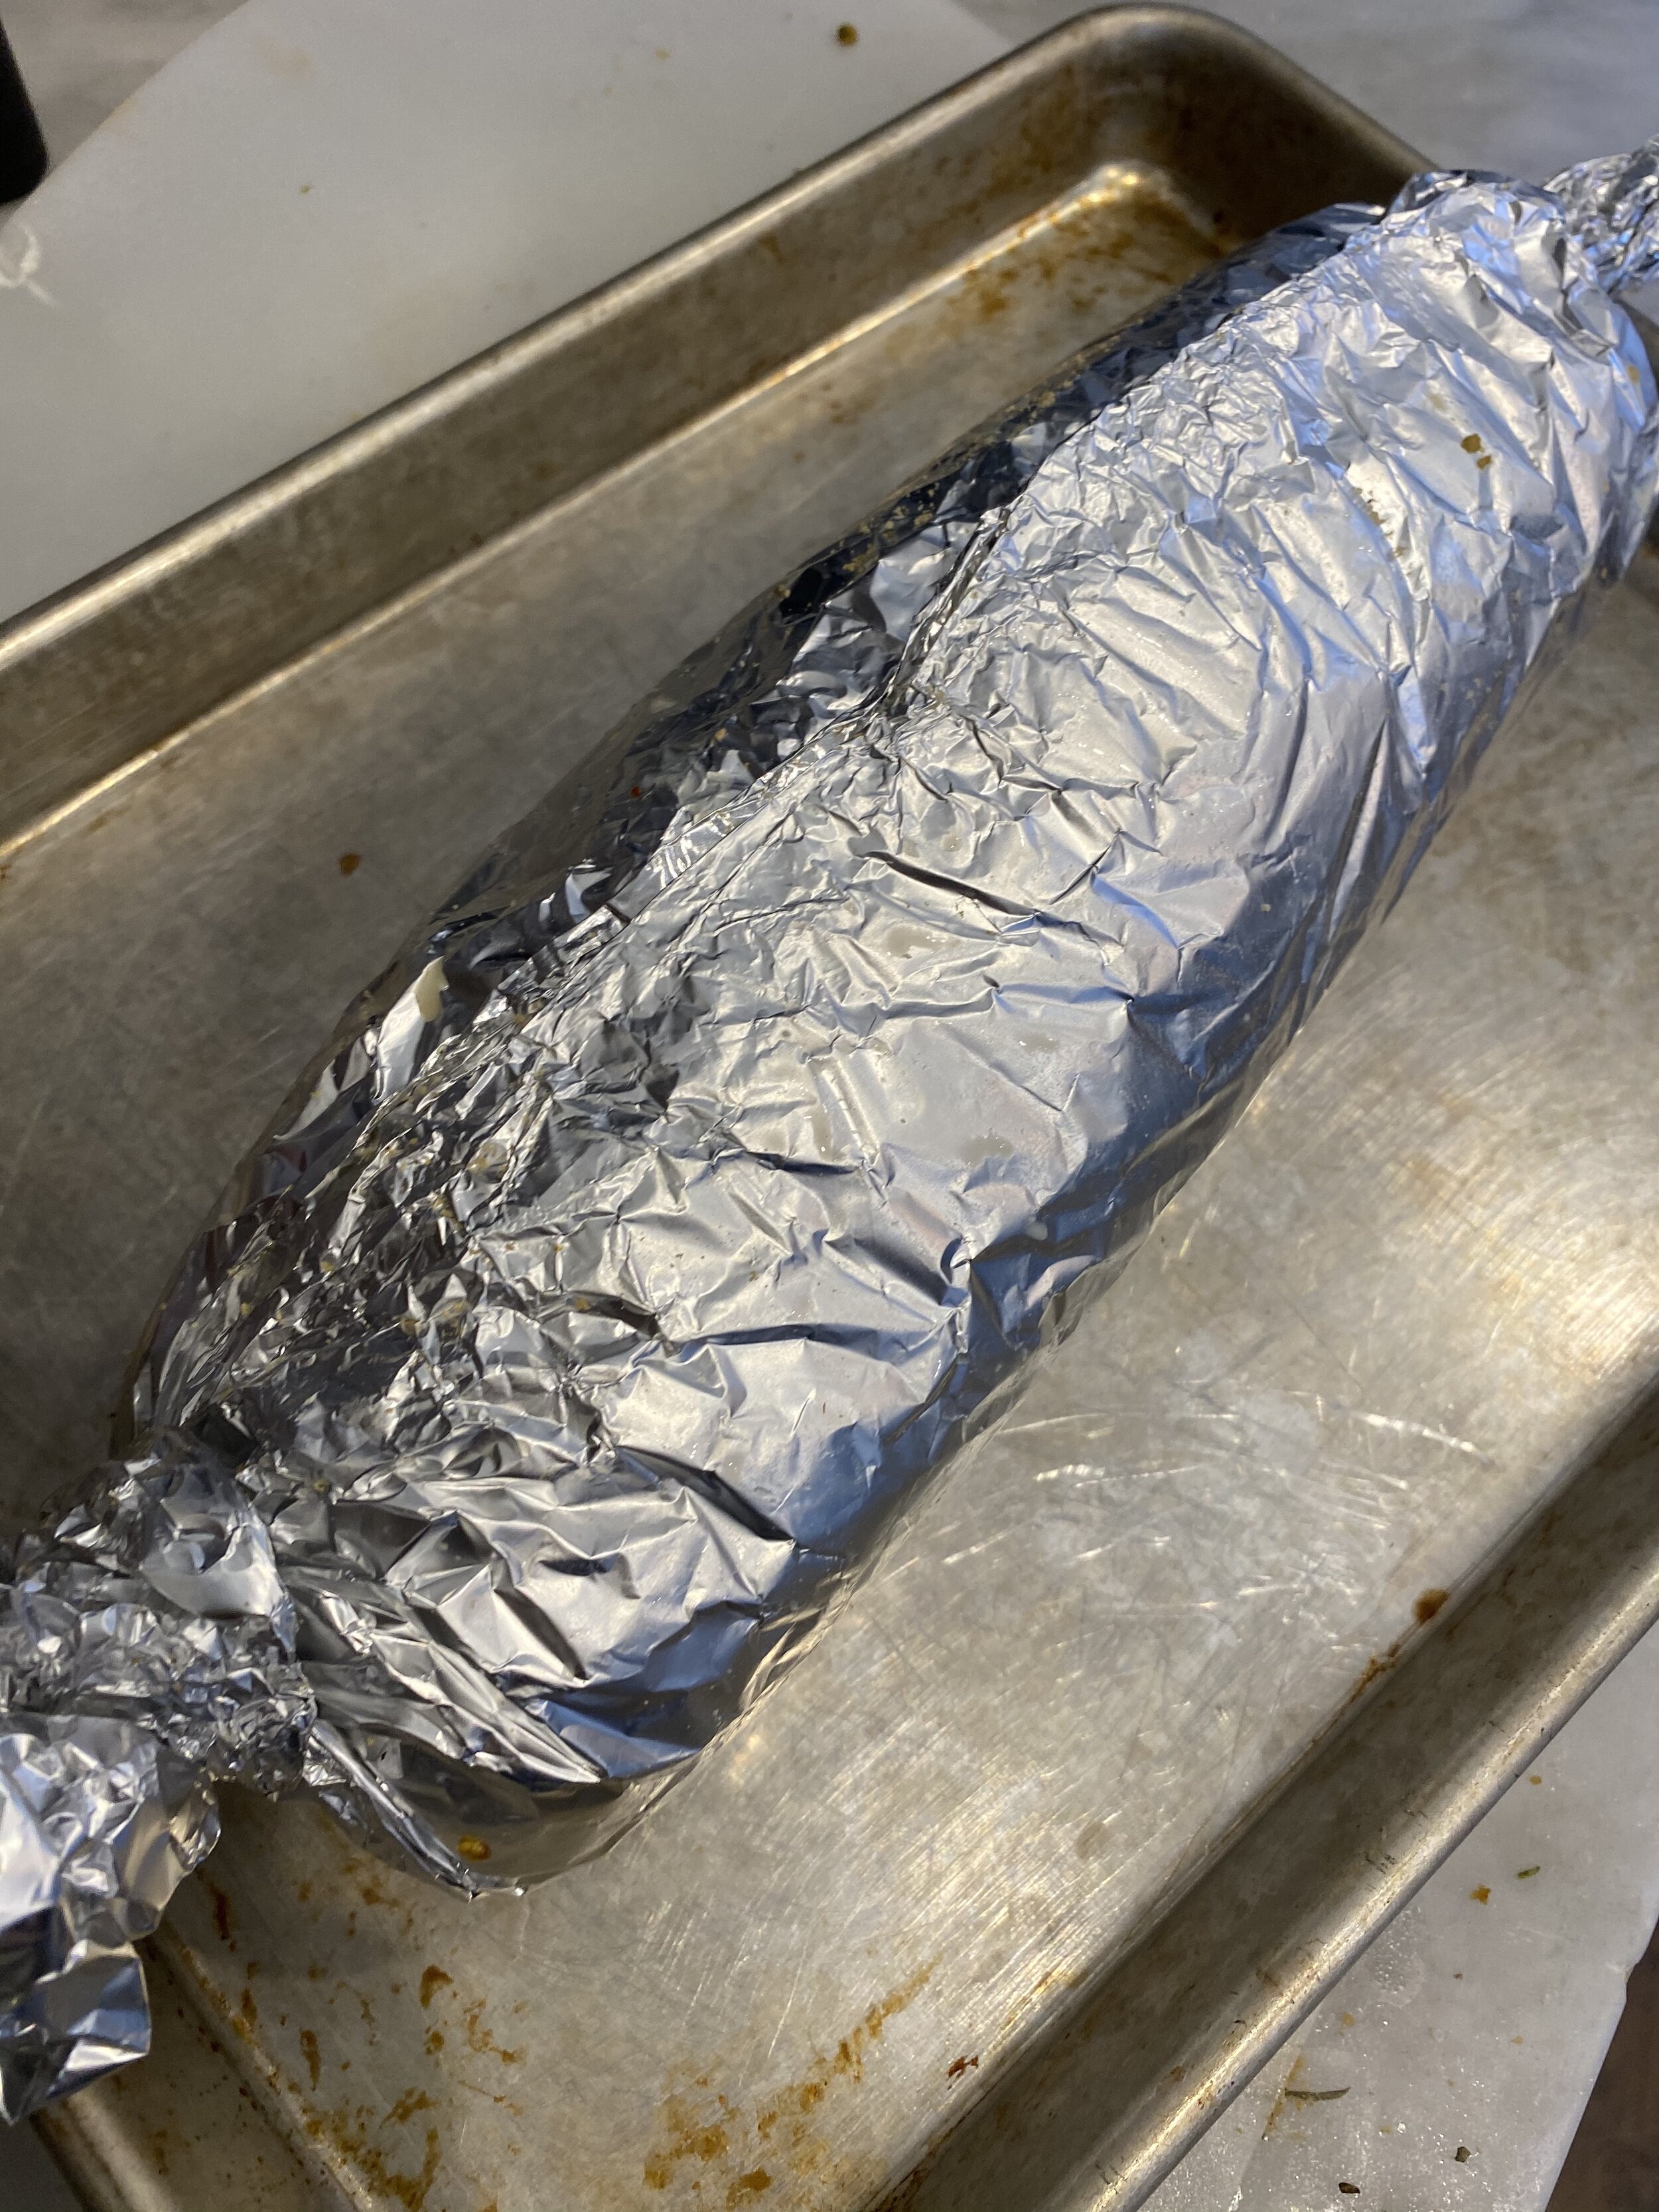
  8. Place the loaf back in the center of the foil and fold up the sides, pinching at the top to seal it up, then twist the ends to fully seal the foil.

  9. Place on a baking sheet and put in the oven on the middle rack. Bake sealed for 30 minutes. After 30 minutes carefully open up the foil, and continue baking for another 30 minutes.

  10. Remove finished “turkey” breast and let cool at room temp. Seal the foil back up and place the “turkey” breast in the fridge over night to rest. This step is important to get the texture we are trying achieve. If you try and serve it before it rests it will not be nearly as firm.

  11. Once the “turkey” breast has been in the fridge over night, you can remove it and slice it to serve. Since this turkey is better hot, Just slice and place in the oven at 350 degrees for 20 minutes or until it is heated back through. I like to give it a little spray with oil when reheating and cover with foil to keep it from getting too dry.

*If your oven cooks hotter than the temperature registered, your “turkey” may develop little holes around the edges. If this happens you can decrease the temperature by 20 degrees the next time you make this dish, or cook uncovered for less time . The turkey will still be delicious but this has been a question asked often in our regular deli turkey breast. It could also be a matter of making sure you knead the dough long enough.

Herb and Sun-Dried Tomato Stuffed Vegan Turkey Breast

If you like this recipe, then try these:

Vegan Deli Sliced Turkey Breast

Vegan Deli Sliced Turkey Breast

I make a lot of seitan based vegan meats.

I have recipes for a holiday roast, holiday turkey style breast with crispy skin, chicken breast, pastrami, brisket, and even pepperoni. But until now I had never added tofu to the mix.

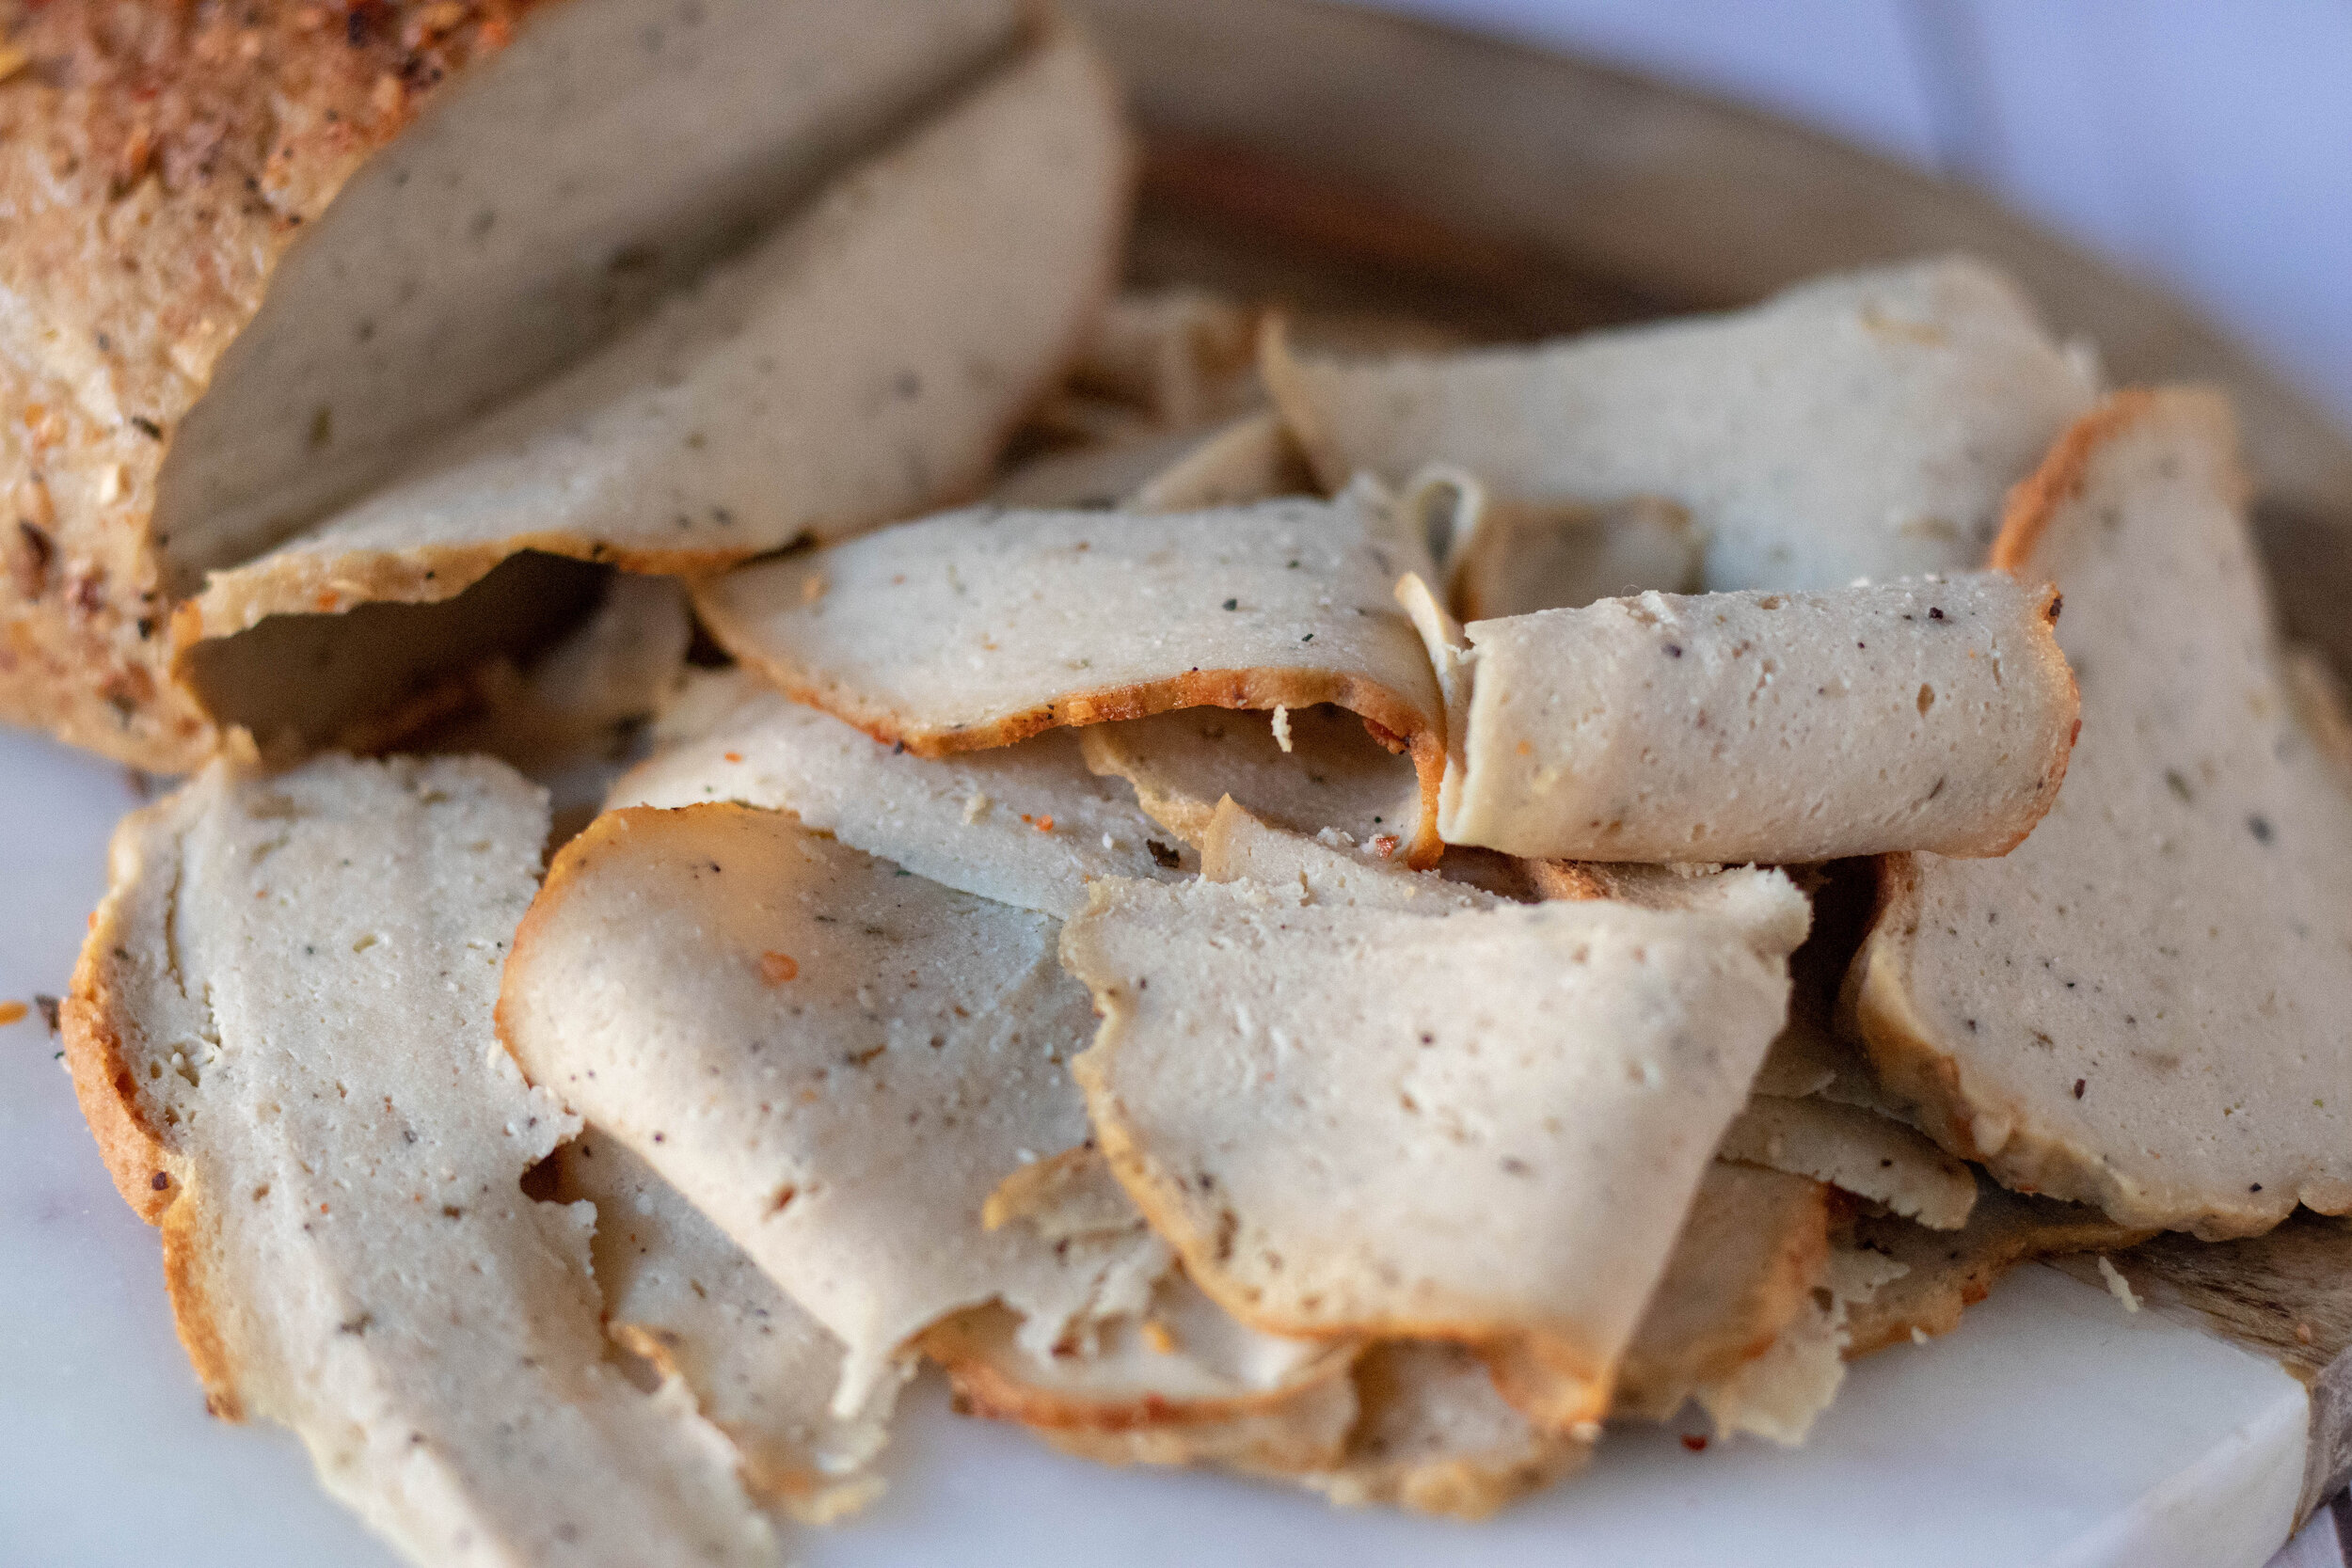
If there was ever a sandwich I missed since going vegan it is a regular old turkey sandwich. I used to love a good deli carved turkey sandwich more than almost anything. So I decided I would try to add tofu to my regular turkey style breast recipe to see if I could get it to a more deli sliced texture.

Y’all, the answer is YES! I have seen other people adding tofu to seitan recipes, and obviously Tofurkey lunch slices are a mix of tofu and vital wheat gluten so I decided to give it a go. It only took one experiment and it came out pretty perfect the first time. I was elated.

Vegan Deli Sliced Turkey Breast

Even my husband who normally passes on vital wheat gluten recipes loves it! I was so excited that I made sandwiches to take to my Mah Jong group, i’m sure I have mentioned my Mah Jong group before. Y’all, side note: learn to play Mah Jong, it’s SO FUN!! Sorry back to the point of this! They were skeptical at first but everyone who tried it was floored and surprised by how good it was! Yay for my Mah Jong crew loving vegan meats!!

If you do not like the spice profile I used, feel free to change it up. That part is up to you. But when the recipe tells you to LET IT REST IN THE FRIDGE, you have to muster all of your strength and patience and do as I say! You will not have the texture you want unless you “let the breast rest. “ So just cook it one night and let it sit in the fridge til the next day. And if you don’t let it rest and decide to dig right in, don’t message me and tell me it was not firm enough, not even joking.

So if you are missing some legit turkey but don’t want to eat an actual turkey, this is your answer! I promise, PROMISE, it will be worth your time and effort. Maybe just go ahead and make 2 at once!

Vegan Sliced Deli Turkey Breast

INGREDIENTS

This is what the tofu looks like that I used. Vacuum sealed, not in a tray of water.

This is what the tofu looks like that I used. Vacuum sealed, not in a tray of water.

  • 1 block extra firm high protein tofu (14oz -16oz block)

  • 1 cup vital wheat gluten

  • 1/2-3/4 cups water

  • 1/4 cup nutritional yeast

  • 2 tablespoons neutral flavored oil ( you can replace with water if you are oil free)

  • 2 tablespoons tapioca starch or corn starch

  • 2 teaspoons onion powder

  • 1-2 teaspoons garlic powder

  • 1/2 teaspoon sage

  • 1 teaspoon rosemary

  • 1 tablespoon No Chicken Better Than Bouillon, or any chicken-less bouillon cube or powder (if using cubes or powder just dissolve in with the water)

  • 1 teaspoon liquid smoke

  • 1 teaspoon salt optional if you feel like the bouillon is not salty enough

  • 3 tablespoons hickory seasoning, or any other seasoning you like to coat the “turkey.” I often use a chili lime seasoning, jerk seasoning, or even Italian blend.

TROUBLE SHOOTING THIS REICPE:

*I used high protein tofu in a vacuum sealed package and this what I strongly advise using. It is much firmer than regular firm tofu and has less moisture and a more chewy texture. If you opt to use regular firm tofu you will need to press it first and remove as much liquid as possible. You may need to adjust the amount of water in the recipet as well. Add the water last, adding just enough to accomplish a firm dough.

  • *If you find your turkey has A LOT OF LITTLE HOLES, and a more BREAD LIKE TEXTURE this can be caused from under kneading the dough, BUT more likely cooking the seitan at too high of a temperature, or for too long. Check your ovens temperature with an oven thermometer. Your oven may just be cooking hotter than it registers. Also gas and electric ovens tend to cook differently. If you do not have an oven thermometer you can reduce the heat in your oven by 25 degrees, and keep the seitan covered for 50 minutes and open for 10.

Vegan Sliced Turkey Breast
vegan-deli-sliced-turkey-breast-process-2.jpg

INSTRUCTIONS:

Preheat oven to 350 degrees

  1. Break up the tofu and place it into a food processor with the regular metal blade. Run the processor for around a minute until the tofu is broken down.

  2. Add all of the remaining ingredients and let the food processor run for a couple of minutes. You want the mixture to form a dough. Letting the processor run will help knead the dough. We want this seitan to be firm so we need it to knead for a bit. If you dough seems a bit too dry, you can add another few tablespoons of water, just don’t add too much more! I start at 1/2 cup and work from there.

  3. Once you have a smooth but firm dough, remove it from the food processor and place on a clean counter. Knead the dough with your hands for about a minute, forming a kind of oval shaped loaf with the dough.

  4. Take a piece of aluminum for about 3x bigger than the loaf of dough, and lay it out flat. Coat the foil in spray oil or wipe it down with any oil you have. Sprinkle half of the hickory, or whatever seasoning you are using in the center of the foil. Place the loaf on the seasoning and roll it around. Sprinkle the remaining seasoning over the top and press it in. The goal is to fully coat the loaf in the seasoning!

  5. Place the loaf back in the center of the foil and fold up the sides, pinching at the top to seal it up, then twist the ends to fully seal the foil.

  6. Place on a baking sheet and put in the oven on the middle rack. Bake sealed for 30 minutes. After 30 minutes carefully open up the foil, and continue baking for another 30-40 minutes.

  7. Remove finished “turkey” breast and let cool at room temp. Seal the foil back up and place the “turkey” breast in the fridge over night to rest. This step is important to get the texture we are trying achieve. If you try and serve it before it rests it will not be nearly as firm.

  8. Once the “turkey” breast has been in the fridge over night, you can remove it and slice it to serve. It should at this point be firm enough to slice using a mandolin or a sharp knife. Store in an air tight container in the fridge for up to 10 days.

    If you like this recipe, then try these:

Vegan Deli Sliced Turkey Breast Sandwich

Vegan Pepperoni

IMG_1910.jpg

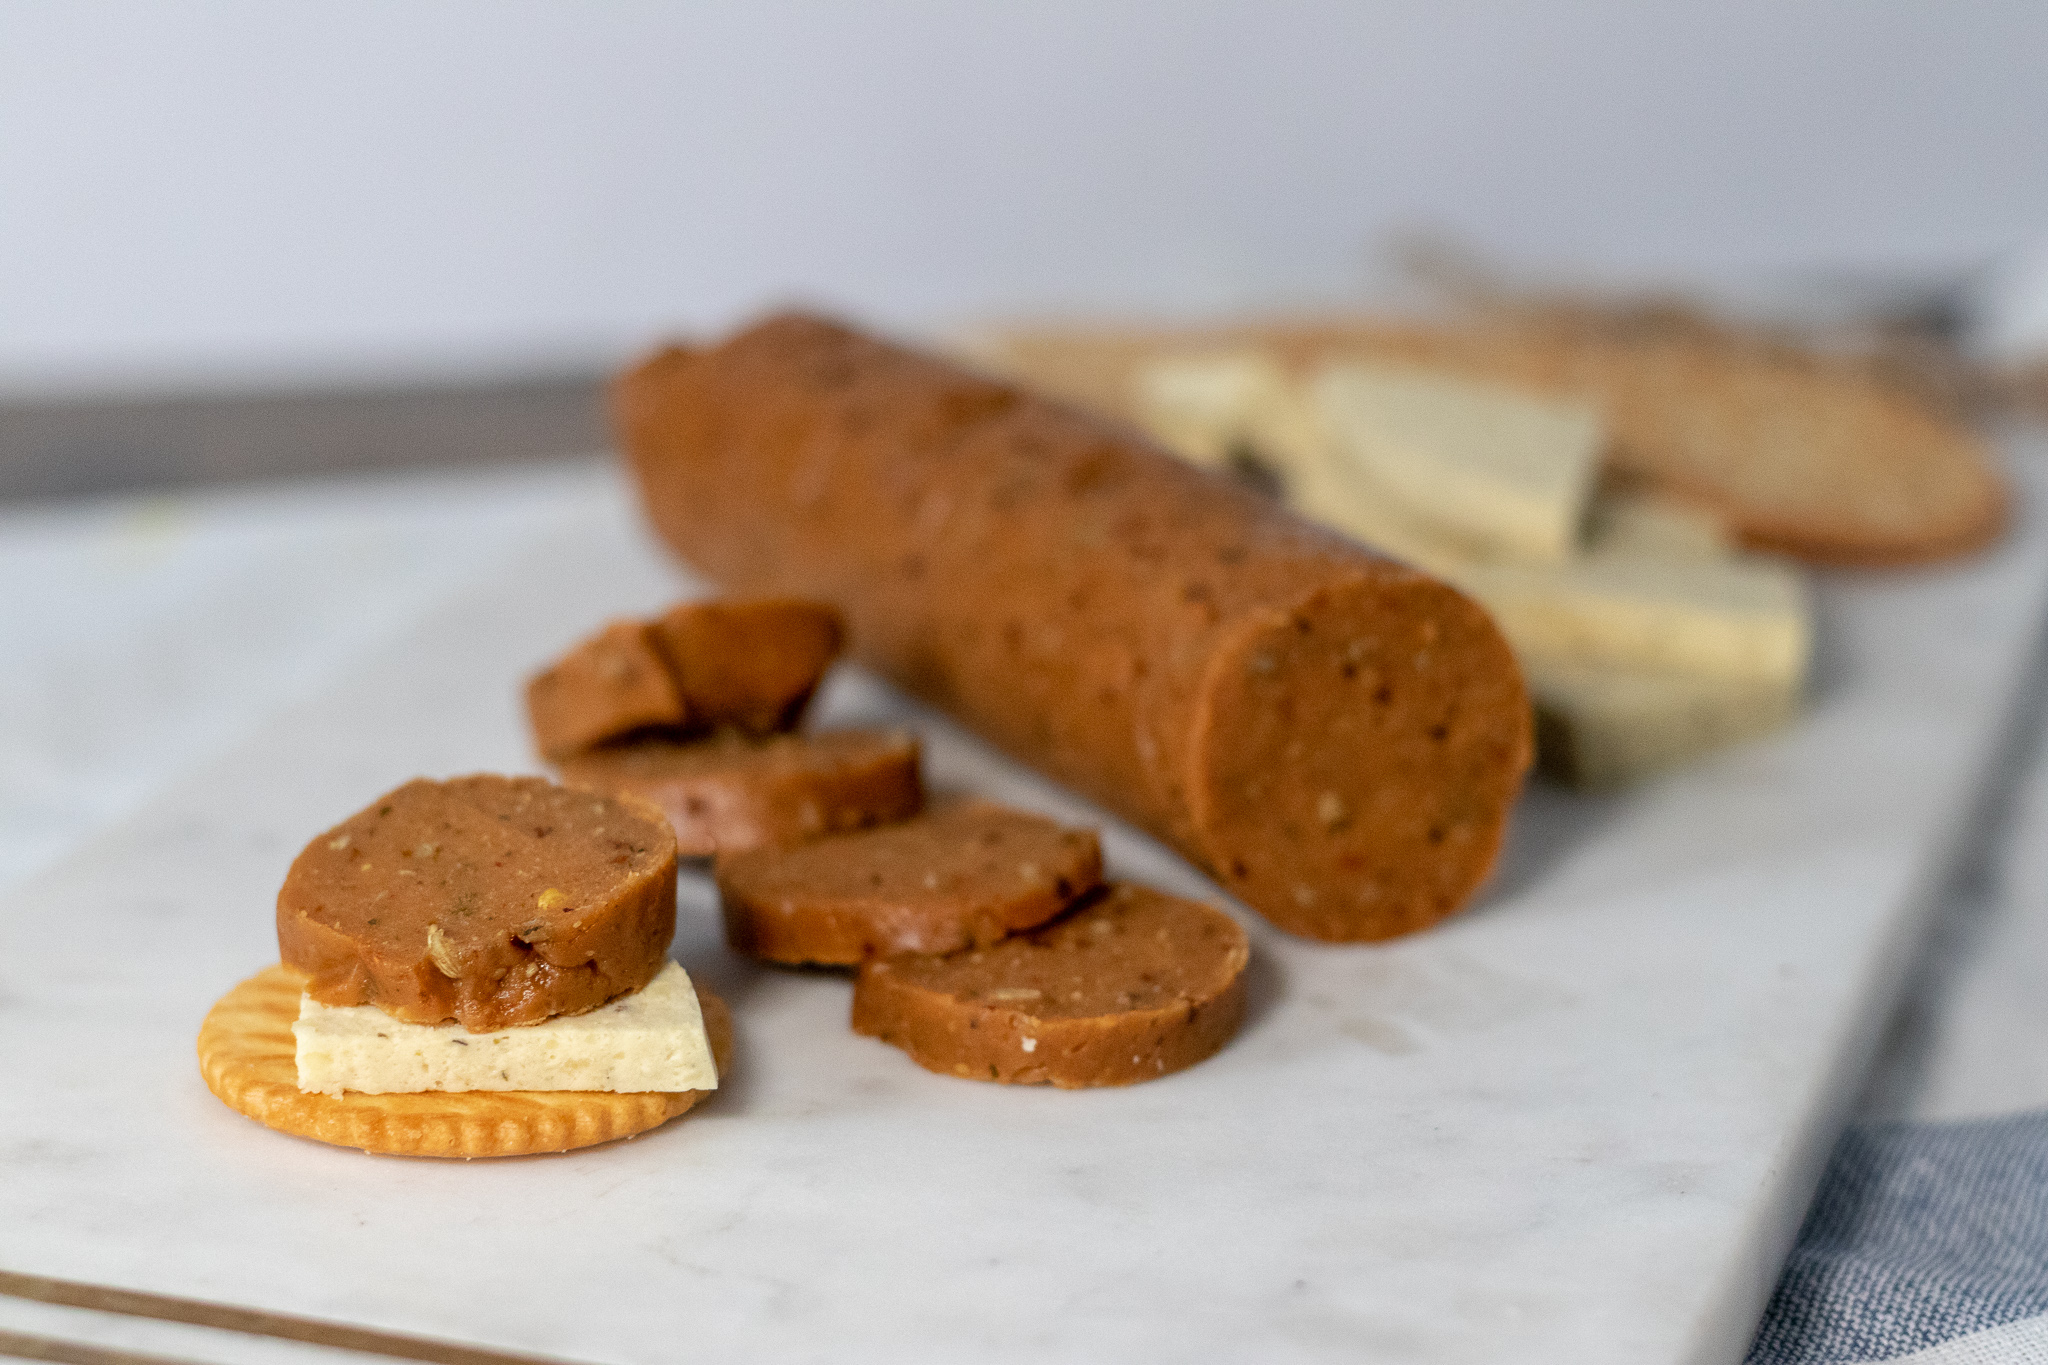
I just want to let y’all know how super easy making a batch of vegan pepperoni can actually be. Seriously! Mix the ingredients, roll it up in some foil, bake, and you are eating delicious homemade vegan pepperoni before you know it! Put it on a cracker, put it on a pizza, eat it all by itself because its that good!!

Don’t be intimidated by making seitan if you have never tried you hand at it. Working with vital wheat gluten is as easy as working with regular flour. Making seitan is really just making dough! You can steam it, boil it, or bake it. For this recipe we are steaming it in foil to achieve a pepperoni like texture!

I often make vegan pepperoni when making a cheese plate for parties, or for just snaking on with vegan cheese and crackers for my kids. I have over 30 cheese recipes on the site, so find one you love and make up a batch to go along with your vegan pepperoni!

This recipe makes two logs of pepperoni, so if you don’t think you will use both very quickly, you can freeze the second for up to a a few months. Just drop it in a freezer bag and thaw when you are ready to use it.

I often top our vegan stuffed crust pizza with this pepperoni! Its made with an easy vegan homemade mozzarella cheese sauce and is so easy and so tasty!! Its one of my kids favorite dinners.

INGREDIENTS:

  • 1 cup vital wheat gluten

  • 1/4 cup nutritional yeast

  • 2 teaspoons minced garlic

  • 2 teaspoons smoked paprika

  • 2 teaspoons onion powder

  • 2 teaspoons dijon mustard

  • 2 teaspoons fennel seeds

  • 1 teaspoon oregano

  • 1/2 teaspoon salt

  • 1/2 teaspoon black pepper

  • 1 teaspoon red pepper flakes

  • 1/4 cup tapioca or corn starch

  • 1 tablespoon soy sauce or amnios

  • 1 teaspoon liquid smoke

  • 2 teaspoon light miso paste

  • 1 teaspoon vegetable Better than Bouillon

  • 3/4-1 cup water


INSTRUCTIONS:

Preheat oven to 350 degrees

  1. Food processor instructions: Add all ingredients to the food processor and mix for about a minute to allow a dough to form and knead.

  2. Hand mixing instructions: Add all ingredients to a bowl and mix until a ball of dough has formed. Transfer the mixture to a clean countertop or cutting board and knead the dough for a few minutes. Start with 3/4 cups water but If the dough seems too dry or isn’t coming together, add a few tablespoons more until you have a soft, but well formed dough.

  3. Divide the dough in half and form each half into a 10 inch log shape.

  4. Spray a good sized piece of foil, maybe 7 tot 8 inches long, with some cooking spray. Place a log of pepperoni at one end and begin rolling the pepperoni into the foil. Twist the ends and repeat with a second piece of foil. You need the foil nice and tightly wrapped and the ends good and sealed. The pepperoni will bake in a water bath so you don’t want any liquid getting in.

  5. Repeat the same processes with the second pepperoni.

  6. Fill baking dish with about a half inch of water and place both foil wrapped pepperonis into the water.

  7. Bake for 30 minutes then turn each pepperoni and bake for another 30 minutes.

  8. Carefully remove foil wrapped pepperonis from the baking pan and transfer to a plate. Leave pepperonis wrapped in foil and allow to cool for about 20 minutes before attempting to unwrap them. Once they have cooled and you can handle them, unwrap the foil and let pepperoni cool uncovered in the fridge for an hour. The pepperoni will firm up more and slice easier if you leave it over night to rest! I typically make a batch the day before I want to use it! But it can be eaten as soon as it cools.

  9. Store in an airtight container or zip lock bag in the fridge.

  10. Serve on pizza, with vegan cheese and crackers, or by itself!

*giving credit where credit is due…Pepperoni was the first vegan meat I ever made using the recipe by Robin Robertson from Veganize It! cook book. I have adapted and changed the recipe over the years to suit my taste and pantry staples, as most seitan pepperoni recipes are pretty similar…but I woulnd’t know know the first thing about most things vegan cooking if not for this particular woman’s cookbooks when we first became vegan. I can not recommend her cookbooks enough! She’s a vegan genius.

IMG_1915.jpg

Vegan Seitan Ribs

IMG_8310.jpg

In college I worked at Chili’s. You know the place with the song about the ribs.

At the time I ate meat and I loved ribs, so other than the annoying song I was often asked to sing by customers, it was a pretty sweet gig. Never mind the fact that I still have nightmares to this day, 20 plus years later, about being the only person working and waiting on a full restaurant. I mean It actually happened once 5 minus before close when a convention of people came in and I was the last server there to close…..needless to say I have some PTSD about ti.

So once going vegan and learning all of the wonders of vital wheat gluten, I knew I wanted to learn to make ribs. And I did.

Once again I turned to Robin Roberson and the Veganze it cookbook (buy this book..trust me) and internet to investigate vegan ribs. What I learned is that most recipes I looked at, including the vegan queen Robin’s, were all pretty much spot on, so I married several of the recipes that seemed very much the same, and made adjustment according to what had on hand and made ribs. I was not disappointed.

I would say this is one the easiest seitan recipes I make! Mix, baked, then grill. Its not hard at all y’all and I have even watched a non vegan 9 year old boy tear a plate of these up.

Vital wheat gluten can be found in most health food stores or on line. If you have never worked with it, it’s just the gluten part stripped from the wheat. It is like making any kind of bread, as you are just making a dough out of the wheat gluten. Once you add liquid and knead it, It becomes stretchy and that texture is what give seitan its remarkable ability to mimic meat.

So fire up the grill and get ready to be wowed! And just as friendly suggestion, never ever ask me to sing that rib song. I promise it won’t end well.


NGREDIENTS: 

  • 1 cup vital wheat gluten

  • 3/4 cups vegetable broth

  • 2 tablespoons nutritional yeast

  • 1 teaspoon minced garlic

  • 2 teaspoons smoked paprika

  • 2 teaspoons onion powder

  • 1/2 teaspoon salt

  • 2 tablespoons nut butter (I use almond butter)

  • 1 tablespoon coconut aminos

  • 1 - 2 cups BBQ sauce


COOKING INSTRUCTIONS:

  1. Add all ingredients except for the BBQ sauce in a food processor, and blend until a sort of dough forms. Let the dough mix for about a minute.

  2. If you do not have a food processor, you can combine dry ingredients in a bowl. Mix together the wet ingredients in a separate bowl. Slowly add the wet ingredients to the dry, combining until forming a dough. Kneed the dough for several minutes by hand.

  3. Preheat oven to 350 degrees.

  4. Press dough into an 8x8 baking dish. Score the dough with a sharp knife, cutting only about halfway through the dough (don't cut to far, you want then to hold together through grilling.) 8 lines down, then one through the middle making 16 ribs. This will make it easy for them to pull apart after you grill them.

  5. Bake ribs for 25 minutes

  6. Remove ribs from oven, and let cool enough to handle.

  7. Baste ribs with BBQ sauce, then transfer to a heated grill.

  8. Grill on each side for about 5 minutes, adding more sauce while grilling. You just want to get a little char on them, and some nice grill marks before taking them off of the grill.

  9. Once done pull the ribs apart, and serve with extra BBQ sauce for dipping.

Serves 4.