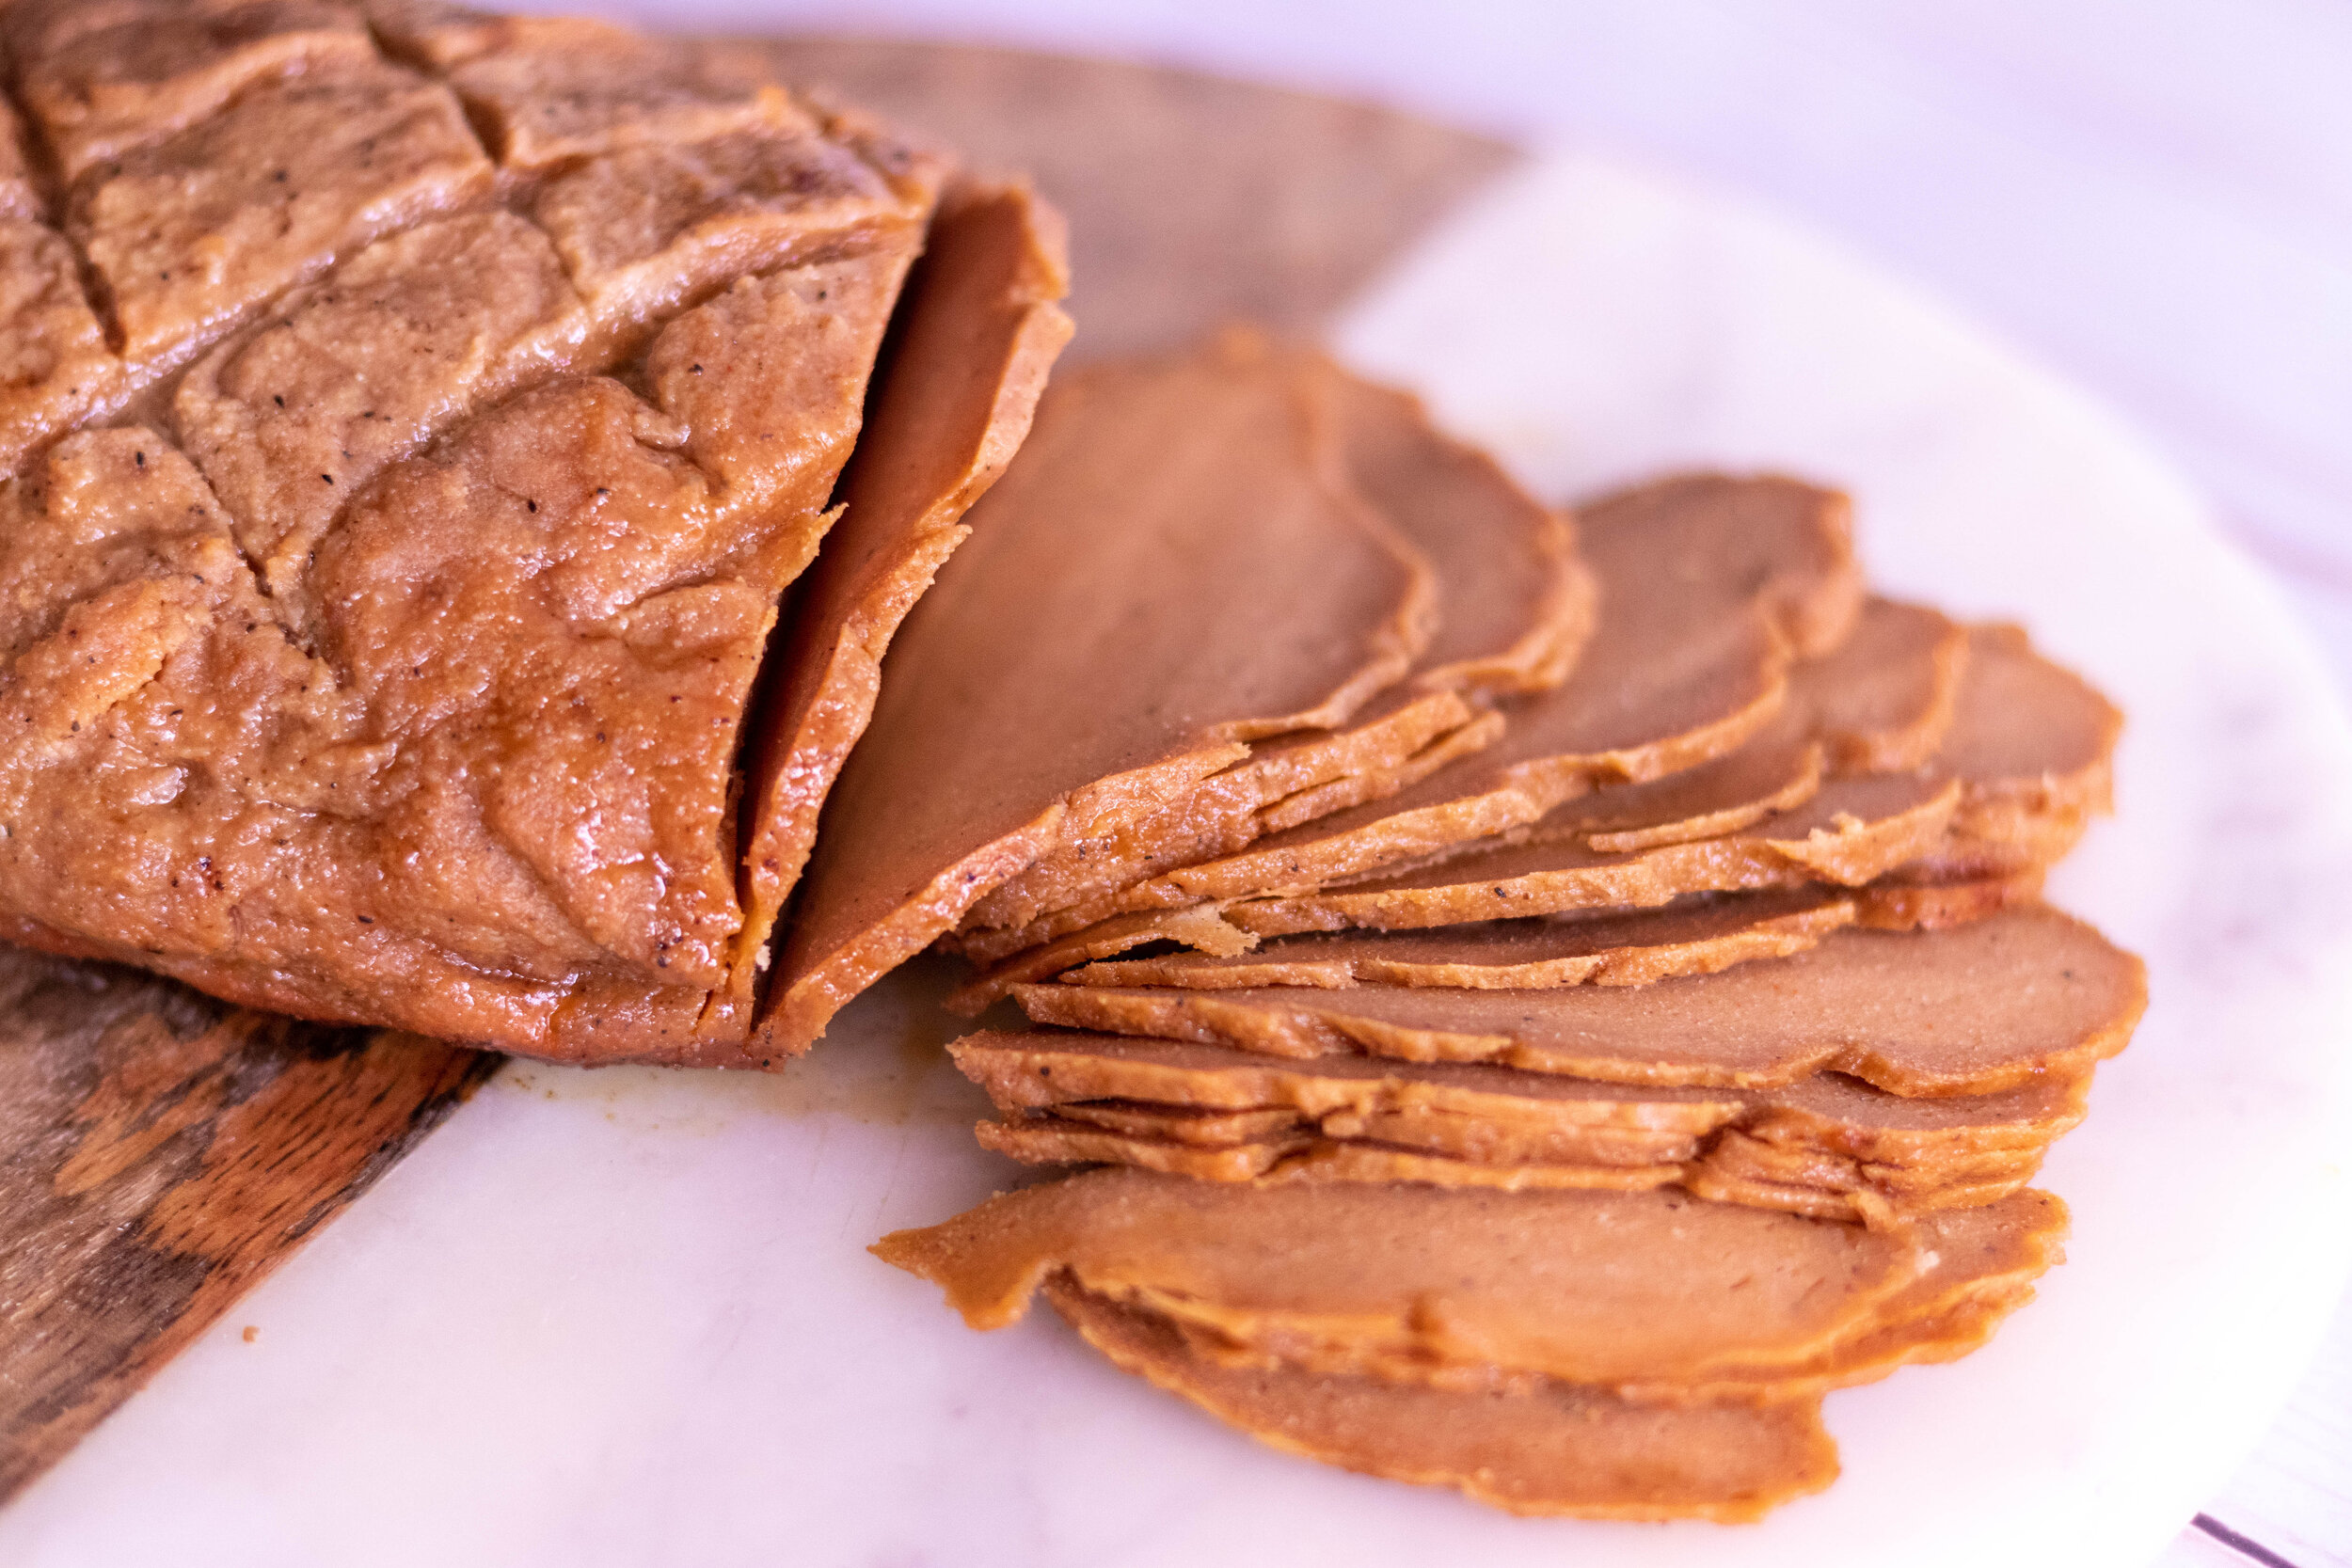
Vegan Glazed Deli Ham
I make a lot of seitan based vegan meats. So bare with me while I talk turkey for a minute. The ham talk will follow.
I have recipes for a holiday roast, holiday turkey style breast with crispy skin, chicken breast, pastrami, brisket, and even pepperoni. But until our turkey recipe, I had never added tofu to the mix.
If there was ever a sandwich I missed since going vegan it is a regular old turkey sandwich. I used to love a good deli carved turkey sandwich more than almost anything. So I decided I would try to add tofu to my regular turkey style breast recipe to see if I could get it to a more deli sliced texture.
Y’all, the answer is YES! I have seen other people adding tofu to seitan recipes, and obviously Tofurkey lunch slices are a mix of tofu and vital wheat gluten so I decided to give it a go. It only took one experiment and it came out pretty perfect the first time. I was elated.
So once I realized how easy the turkey was, I went on to make a vegan roast beef using the same method!
Ham was my next stop on the vegan lunch meat deli tour, and I knew if I made it the same way as the turkey but changed a few wet ingredients and spices, I would get the same successful results I got with the turkey and roast beef.
Oh and a glaze. Whats a ham without a glaze?!?!
Growing up I LOVED when my parents bought a Honey Baked Ham for the holidays. I was never a fan of packaged deli ham but I lived for leftover Honey Baked Ham sandwiches on a Hawaiian roll with mayo. So that was the kind of ham I was looking to recreate.
You can slice this ham extra thin if that is your preferred texture, or leave it a little on the thick side to mimic more of a holiday ham. And because I loved a glazed ham the most, I gave this one a nice sweet brown sugar glaze with a hint of soy for the salt and to add a little color to the top.
My kids love our easy vegan deli turkey recipe so when I offered them this ham (2 of my kids have only ever had ham once at a friends how when they were really young, the other two, never) they announced “I don’t think I liked ham that one time I ate it.” But since we were out of turkey and they wanted and sandwich, they gave in and made a vegan ham sandwich for lunch.
We were out and about and my 14 year old daughter was super reluctant to eat said sandwich, but y’all, if I could have videoed her face when she took that first bite…priceless. Lets just say she is now a big fan of vegan ham non white bread with mayo and vegan American cheese.
So if you have made any of other vegan deli meat recipe and looking to switch it up, try the ham. Its just as good as the turkey, roast beef, or brisket, just more, well, ham like!
INGREDIENTS:
1 block super firm tofu, 14-16 oz
1 cup vital wheat gluten
1/4 cup ketchup or tomato sauce
1/4 cup nutritional yeast
2 tablespoons neutral flavored oil ( you can replace with water if you are oil free)
2 tablespoons tapioca starch or corn starch
1 tablespoon white sugar
2 teaspoons onion powder
1 teaspoons garlic powder
1 teaspoon smoked paprika
1/2 teaspoon black pepper
1 teaspoon coriander
1/8 teaspoon nutmeg
1/8 teaspoon allspice
1 teaspoon salt is you think it needs more (the bouillon and soy add a bit of salt as is)
1 tablespoon Garlic or Vegetable Better Than Bouillon (I used garlic)
2 teaspoons liquid smoke
1 tablespoon coconut aminos or soy sauce
2 tablespoons water if need (add last)
Glaze Coating:
2 tablespoon brown sugar
2 teaspoons dry mustard
1/2 teaspoons salt
2 teaspoons soy sauce or coconut aminos
TROUBLE SHOOTING THIS REICPE:
*I used high protein tofu in a vacuum sealed package and this what I strongly advise using. It is much firmer than regular firm tofu and has less moisture and a more chewy texture. If you opt to use regular firm tofu you will need to press it first and remove as much liquid as possible. You may need to adjust the amount of water in the recipet as well. Add the water last, adding just enough to accomplish a firm dough.
*If you find your turkey has A LOT OF LITTLE HOLES, and a more BREAD LIKE TEXTURE this can be caused from under kneading the dough, BUT more likely cooking the seitan at too high of a temperature, or for too long. Check your ovens temperature with an oven thermometer. Your oven may just be cooking hotter than it registers. Also gas and electric ovens tend to cook differently. If you do not have an oven thermometer you can reduce the heat in your oven by 25 degrees, and keep the seitan covered for 50 minutes and open for 10.
INSTRUCTIONS:
Preheat oven to 350 degrees
Break up the tofu and place it into a food processor with the regular metal blade. Run the processor for around a minute until the tofu is broken down.
Add all of the remaining ingredients and let the food processor run for a couple of minutes. You want the mixture to form a dough. Letting the processor run will help knead the dough. We want this seitan to be firm so we need it to knead for a bit. If you dough seems a bit too dry, you can add another few tablespoons of water, just don’t add too much more! This dough came out stickier than the turkey because of the consistency of the ketchup and I did not have to add ANY water to mine. If your dough seems too sticky, then add 2 more tablespoons of starch.
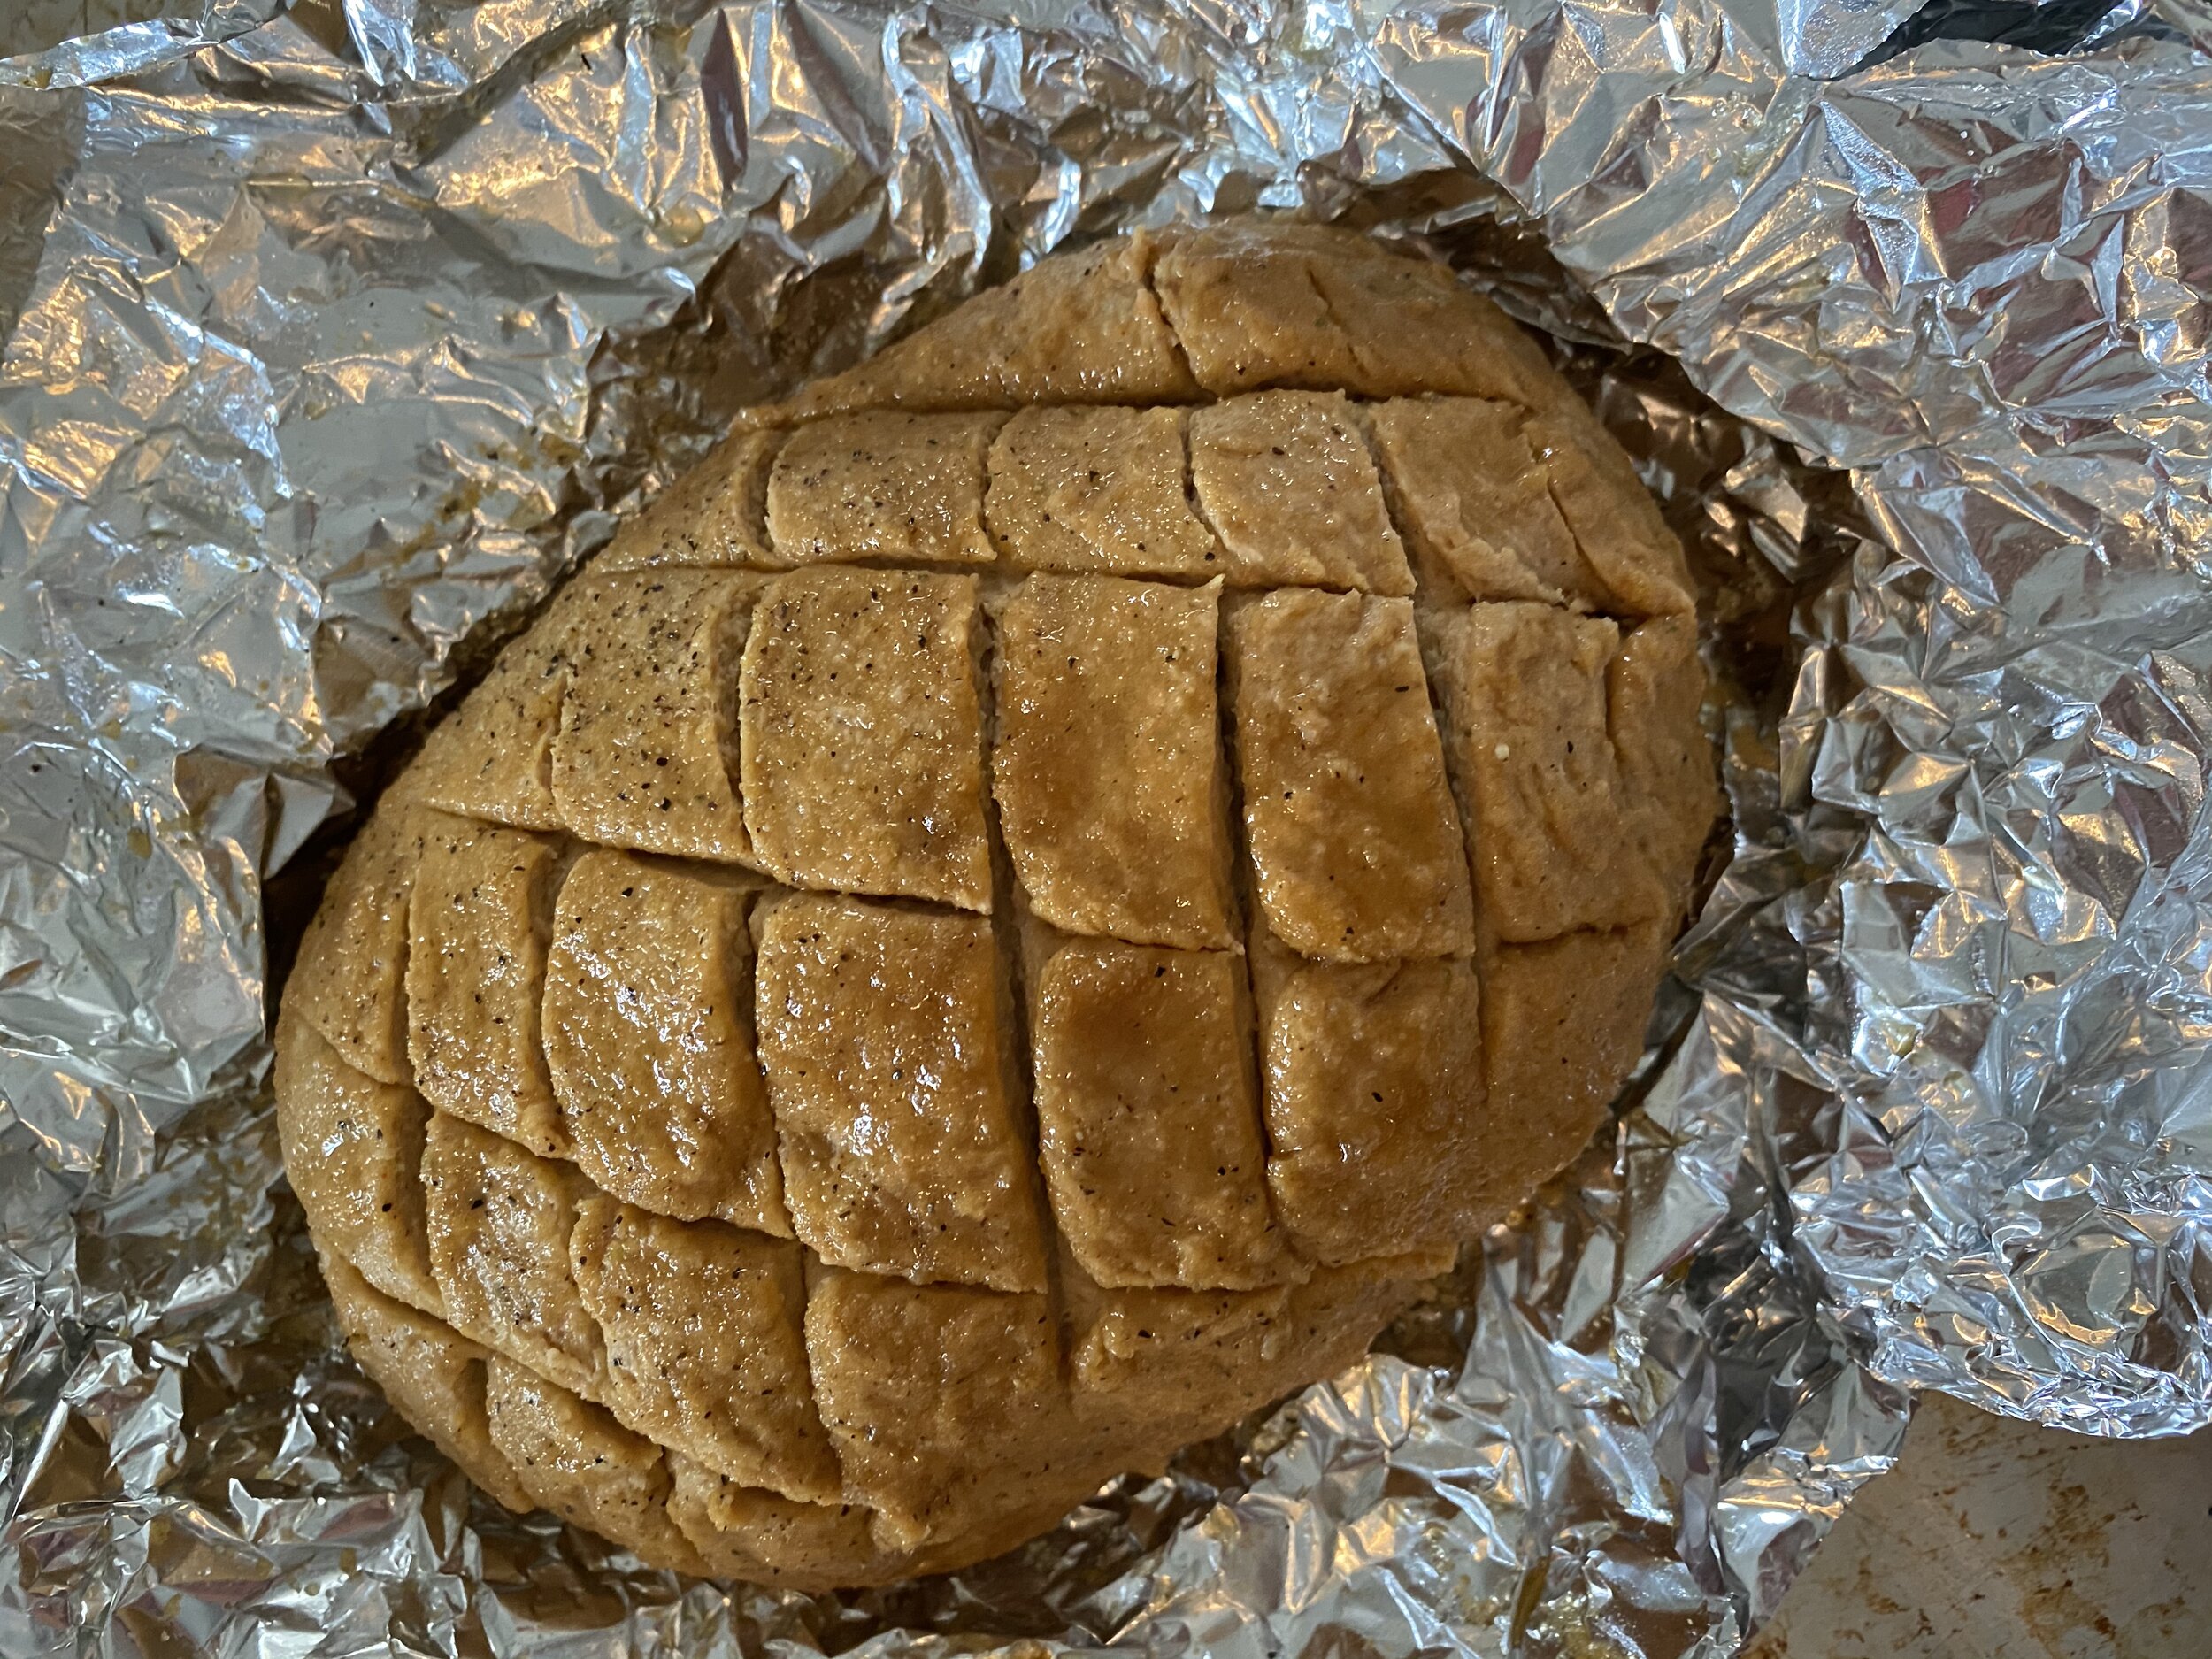
Once you have a smooth but firm dough, remove it from the food processor and place on a clean counter. Knead the dough with your hands for about a minute, forming a kind of oval shaped loaf with the dough. Using a very sharp knife, score crisscross marks across the top of the loaf about an eighth of an inch deep.
Take a piece of aluminum for about 3x bigger than the loaf of dough, and lay it out flat. Coat the foil in spray oil or wipe it down with any oil you have. Sprinkle the brown sugar, mustard, and salt in the middle of the foil and give a little mix. Place the loaf on the seasoning and roll it around. The goal is to fully coat the loaf in the seasoning!
Place the loaf back in the center of the foil and fold up the sides, pinching at the top to seal it up, then twist the ends to fully seal the foil.
Place on a baking sheet and put in the oven on the middle rack. Bake sealed for 30 minutes. After 30 minutes carefully open up the foil and brush the top with a teaspoon or two of soy sauce, and continue baking for another 30 minutes.
Remove finished “ham” and let cool at room temp. Seal the foil back up and place the “ham” in the fridge over night to rest. This step is important to get the texture we are trying achieve. If you try and serve it before it rests it will not be nearly as firm.
Once the “ham” has been in the fridge over night, you can remove it and slice it to serve. It should at this point be firm enough to slice using a mandolin or a sharp knife. Store in an air tight container in the fridge for up to 10 days.
If you like this recipe, then try these:
Vegan Dry Rubbed Brisket
Vegan Deli Sliced Turkey
Vegan Deli Sliced Roast Beef


